Introduction to DIY Lunchables with Cheese, Crackers, and Fruit
When it comes to packing lunch, many of us can fall into a routine that feels a bit stale. Enter DIY Lunchables with Cheese, Crackers, and Fruit—a playful, customizable alternative that’s not only fun to eat but also easy to prepare. These portable meals are perfect for busy professionals looking to mix things up and enjoy a nourishing option on the go.
Why DIY Lunchables are a Game Changer for Lunch
In a world where time is often of the essence, DIY Lunchables present a solution that is both efficient and enjoyable. Why settle for a bland sandwich when you can create a personalized feast that caters to your cravings? You get to choose your favorite ingredients, control the portion sizes, and, more importantly, have fun while doing it!
-
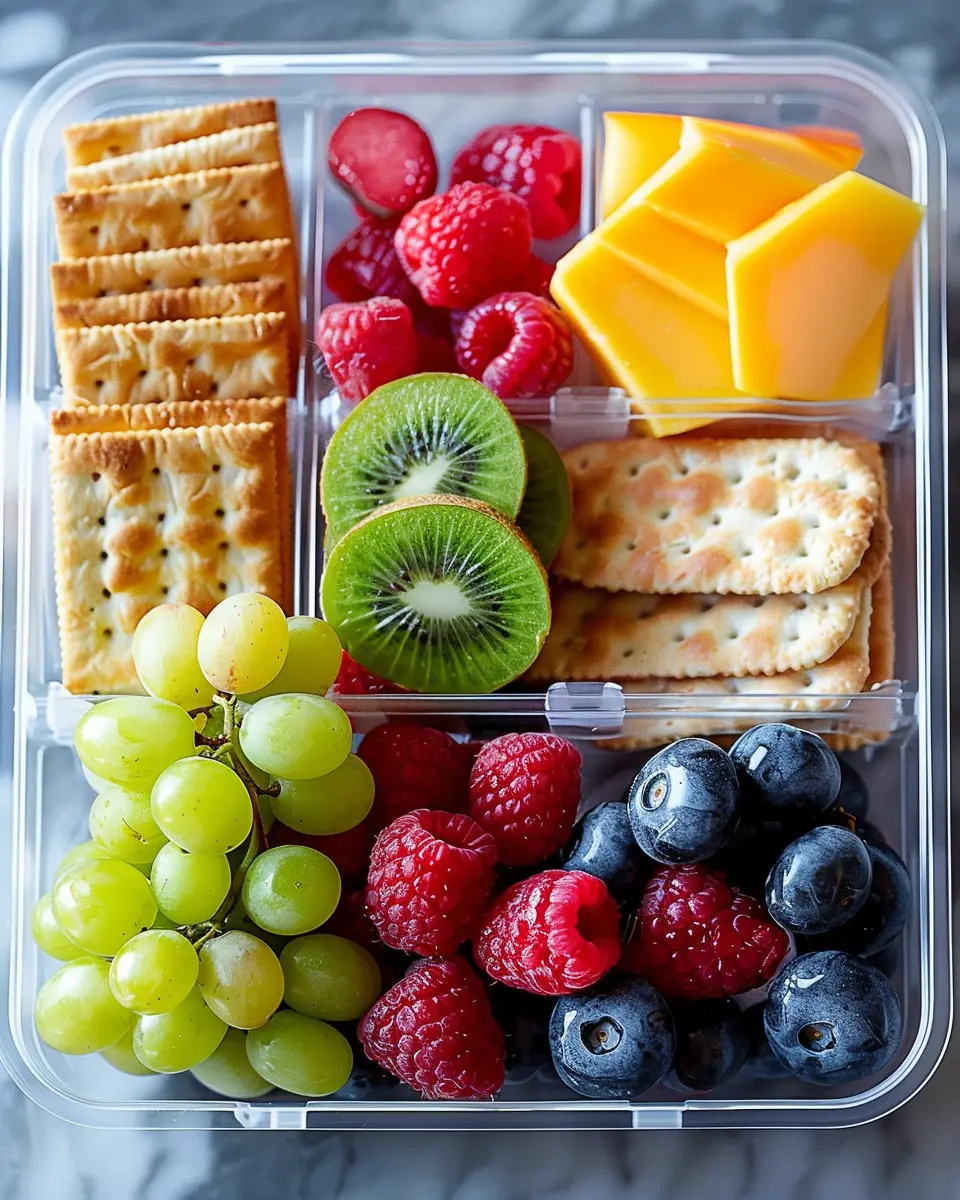
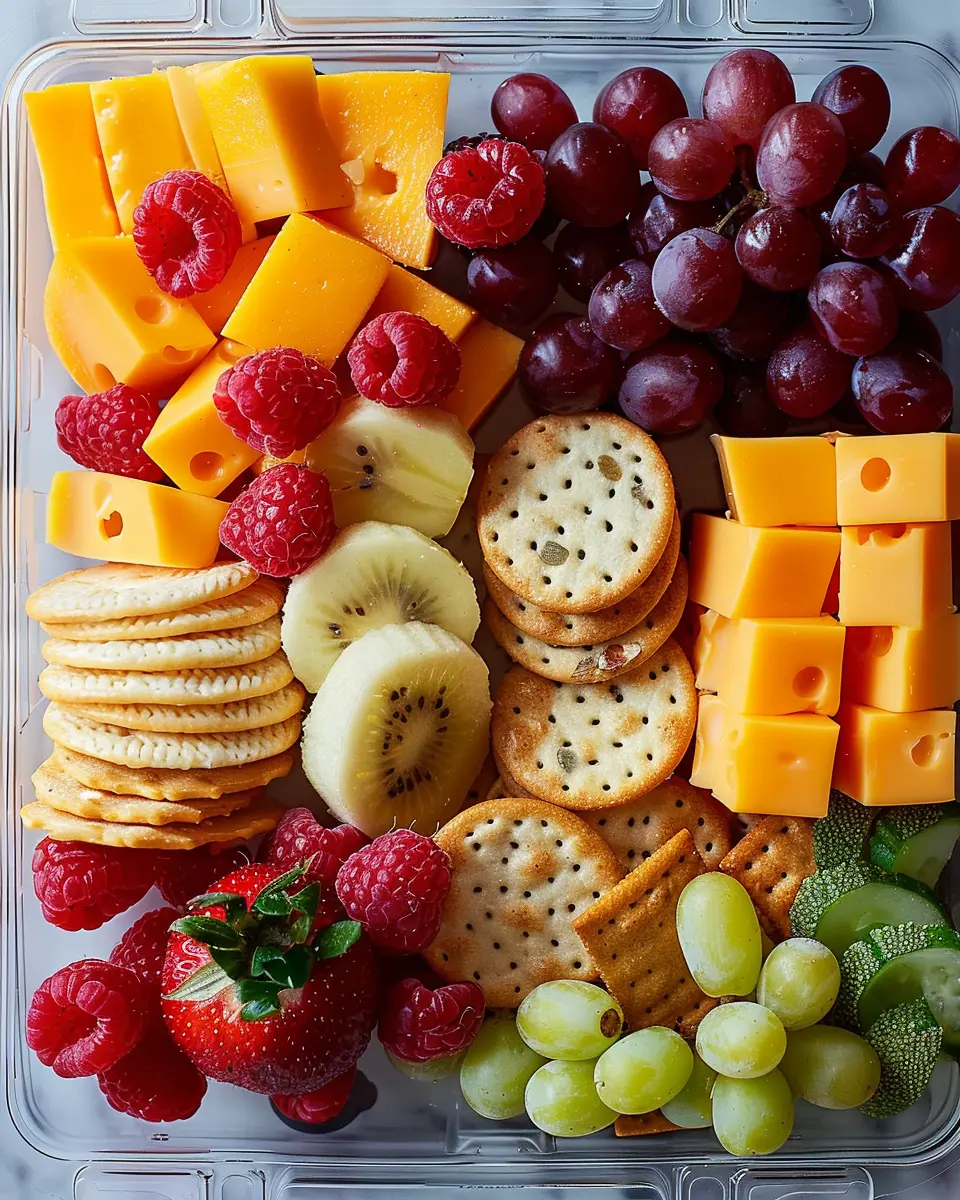
Customization: With DIY Lunchables, you’re the chef! Whether you prefer sharp cheddar, creamy brie, or goat cheese, the choice is yours. Pair those with your favorite crackers—think whole grain or seeded—and top it off with a selection of fresh fruits like grapes, strawberries, or apple slices. The variety is endless, allowing you to mix and match to keep things exciting.
-
Balanced Nutrition: By handpicking your components, you ensure that your lunch is not only delicious but also packed with nutrients. According to the Harvard T.H. Chan School of Public Health, including a balanced mix of carbohydrates, proteins, and fats in your meals can improve concentration and energy levels throughout your busy day.
-
Portability: These lunchables fit perfectly into a small container, making them easy to take to the office or on road trips. No need to worry about soggy bread or unwanted spills—just layer your ingredients and enjoy a fulfilling meal anywhere!
Have you ever experienced that midday slump? Trying a DIY Lunchable can be the spark your lunchtime needs, lifting your spirits and keeping you energized. It’s more than just lunch; it’s an experience.
Ready to get started? Let’s dive into the delicious world of DIY Lunchables with Cheese, Crackers, and Fruit! This innovative approach not only transforms your lunch but can also turn you into the office lunch trendsetter.
Ingredients for DIY Lunchables with Cheese, Crackers, and Fruit
Creating your own DIY Lunchables with Cheese, Crackers, and Fruit is not just a fun activity—it’s a way to whip up a balanced meal that is both delicious and satisfying. Let’s dive into the essential ingredients that will make your Lunchables experience delightful.
Cheese Selection
- Cheddar: Sharp and tangy, perfect for snacking.
- Gouda: Smooth and rich, adds a gourmet touch.
Crackers
- Whole Grain Crackers: For a healthier option, providing fiber and nutrients.
- Savory Crackers: Look for options with herbs or spices to elevate the flavor.
Meat Choices
- Turkey Bacon: A lean twist, offering that savory touch.
- Chicken Ham: Great in flavor and pairs well with cheese.
Fresh Fruit Options
- Grapes: Sweet and bite-sized, easy to pack.
- Apple Slices: Crunchy and refreshing, they complement the cheese beautifully.
Having these ingredients on hand not only simplifies your meal prep but also ensures you get a variety of flavors and nutrients. For further inspiration on creating the perfect snack, check out Snack Girl for more innovative ideas!
Preparing DIY Lunchables with Cheese, Crackers, and Fruit
Creating your own DIY Lunchables with Cheese, Crackers, and Fruit is not only easy but also a delightful way to enjoy a nutritious and tasty meal that reminisces childhood lunches. With just a bit of preparation, you can whip up a customized lunch that is perfect for work, school, or a day out. Let’s break down the steps!
Gather All Your Ingredients
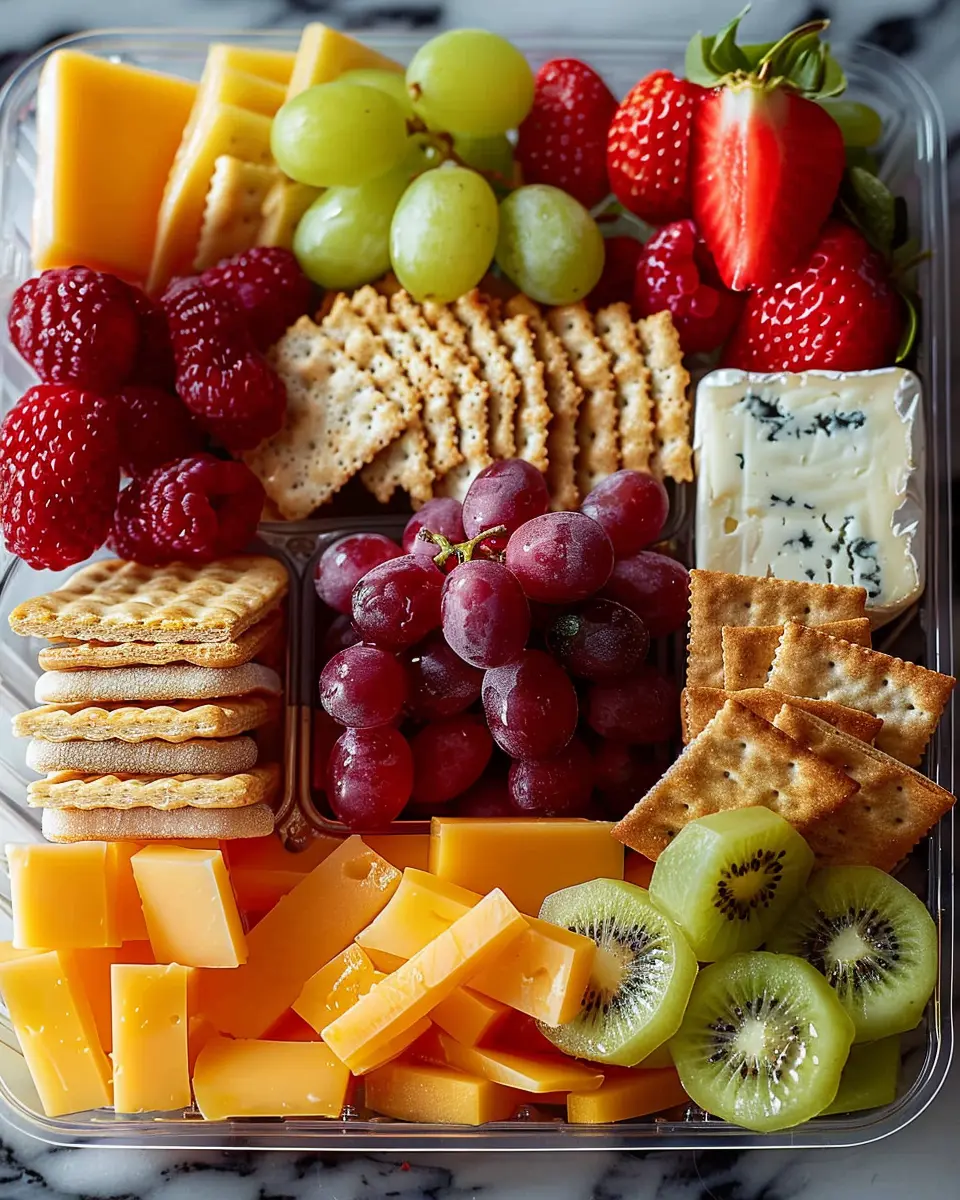
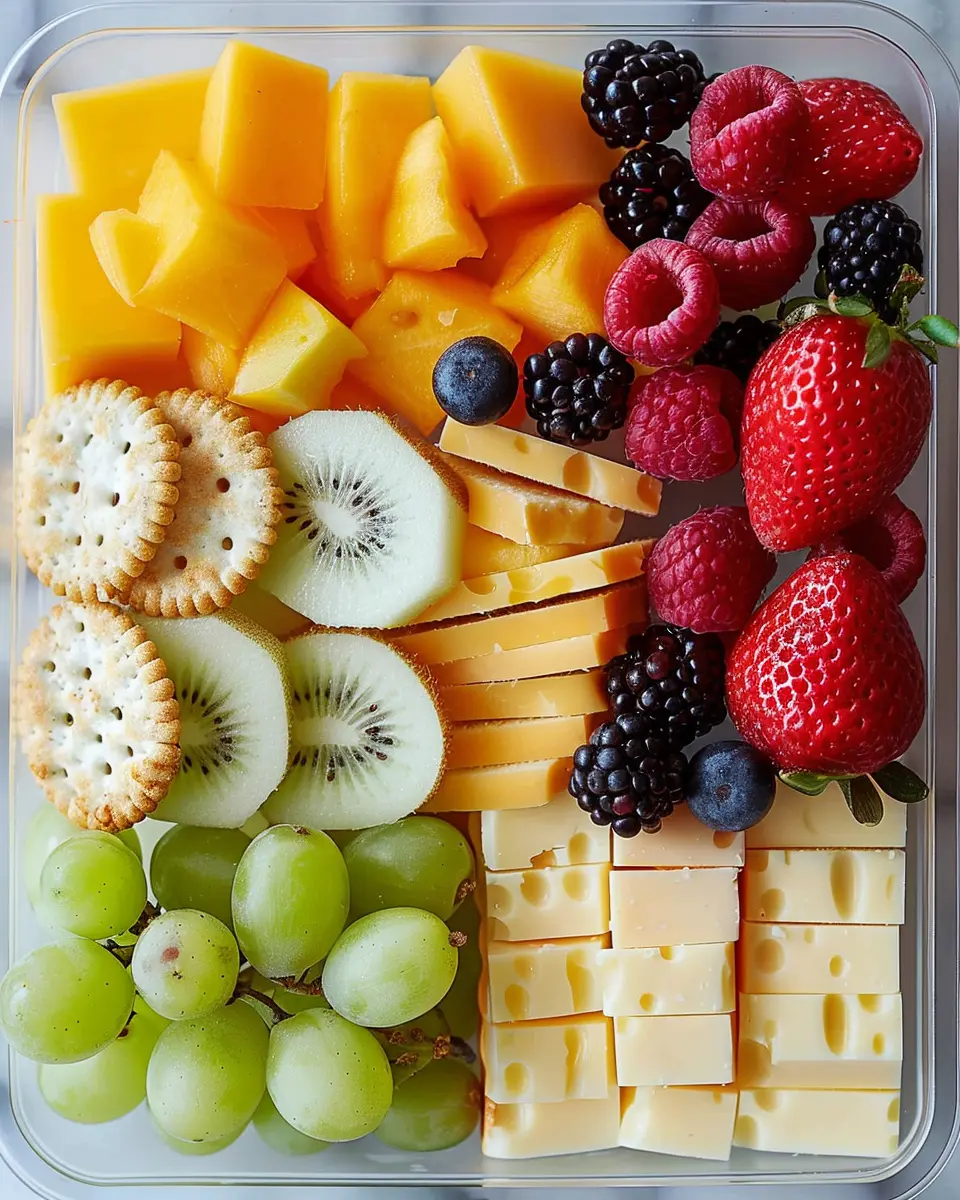
To make your DIY Lunchables with Cheese, Crackers, and Fruit, start by choosing a variety of ingredients that suit your taste buds. Some great options include:
- Cheese: Consider sharp cheddar, creamy mozzarella, or pepper jack for a kick.
- Crackers: Opt for whole-grain or gluten-free selections depending on your dietary preferences.
- Fruits: Choose seasonal fruits like juicy strawberries, crisp apple slices, or zesty mandarin oranges.
- Proteins: You can add some protein with slices of chicken ham or turkey bacon for an extra boost. If you’re feeling adventurous, include some beef jerky for a savory crunch!
For inspiration and nutritional advice, take a moment to explore resources like ChooseMyPlate.gov to ensure you’re getting a balanced meal.
Choose Your Container Wisely
The right container makes all the difference when assembling your lunch. You want something that keeps everything neatly packed without crushing the delicate cheese or the fresh fruit. Look for:
- Bento boxes: These have compartments that help keep items separate and visually appealing.
- Mason jars: For a rustic approach, use jars for stacking layers.
- Reusable plastic containers: Choose those with dividers to prevent flavors from mingling.
Remember, a pretty presentation makes a meal feel more gourmet!
Assemble the Layers
Let’s move on to the fun part: assembling your DIY Lunchables with Cheese, Crackers, and Fruit. Here’s how to do it effectively:
- Start with Crackers: Lay down a foundation of crunchy crackers, allowing room for your cheese and protein.
- Add Cheese: Cut or slice your chosen cheese into bite-sized pieces and place them next to the crackers.
- Incorporate Protein: Add slices of chicken ham or turkey bacon for that satisfying savory element.
- Include Fruits: Fill in any remaining spaces with fresh fruit. This not only adds color but also a sweet touch that pairs perfectly with savory flavors.
Mixing textures and colors will make your lunch more satisfying—don’t be afraid to experiment!
Pack It Right
Packing your lunch might seem trivial, but it’s crucial for keeping everything fresh and tasty. Here are some tips:
- Use dividers if your container allows—it prevents the juicy fruits from making the crackers soggy.
- Consider adding a small, ice pack to keep everything chilled, especially if you pack it the night before.
- Make sure the lid snaps tightly to avoid any spills throughout your day.
Keep It Fresh Until Lunchtime
Timing is everything when it comes to enjoying your DIY lunch. To keep everything fresh until lunchtime:
- Prepare the night before: This not only saves time in the morning but lets the flavors meld together, making your lunch even tastier.
- Store your assembled lunch in the refrigerator overnight and grab it right before heading out.
A little planning goes a long way, and your future self will thank you!
In conclusion, preparing DIY Lunchables with Cheese, Crackers, and Fruit is a fantastic way to enjoy a satisfying meal that fits perfectly into your busy schedule. With a little creativity and preparation, you can make a lunch that is not only delicious but also a fun throwback to your childhood. Happy packing!
Variations on DIY Lunchables with Cheese, Crackers, and Fruit
Creating DIY Lunchables with Cheese, Crackers, and Fruit doesn’t just stop at the classic combo; there are endless ways to elevate your snack game! Here are two delicious variations that are sure to impress.
Mediterranean Twist with Hummus and Olives
Why not infuse some Mediterranean flair into your lunchables? Start with a base of whole grain crackers, which pair beautifully with creamy hummus. Pack some slices of feta cheese or a mild goat cheese for that tangy kick. To balance the flavors, toss in a variety of olives—think Kalamata or Castelvetrano for their rich taste and health benefits, as they’re loaded with antioxidants.
For the fruity component, dried apricots or fresh grapes add a lovely sweetness that complements the savory elements wonderfully. This combination is not only tasty but also nutritious, featuring healthy fats, protein, and fiber that can help keep your energy levels steady throughout the day.
Sweet and Savory with Chocolate and Nuts
This variation is perfect if you’re craving something a little indulgent. Begin with your favorite nut-based crackers as the foundation. Add turkey bacon or chicken ham for a savory note, and then introduce some dark chocolate squares. Dark chocolate, renowned for its health benefits, can satisfy your sweet tooth without derailing your healthy eating habits.
For the fruit, consider apple slices or berries to add a refreshing and nutritious twist. The combination of sweet, salty, and crunchy textures will leave your taste buds dancing. Plus, with the right balance, you’re not just enjoying a treat but also incorporating wholesome foods into your diet.
So, whether you’re leaning towards a Mediterranean flavor profile or craving a chocolaty indulgence, these variations on DIY Lunchables with Cheese, Crackers, and Fruit will keep your lunches exciting and fulfilling. Want more inspiration? Check out these creative snack ideas from Serious Eats or Food Network!
Tips and Notes for DIY Lunchables with Cheese, Crackers, and Fruit
Creating DIY Lunchables with Cheese, Crackers, and Fruit can be a delightful, creative process. Here are some friendly tips to elevate your lunch game!
Choose the Right Ingredients
Opt for a variety of cheeses—think sharp cheddar, creamy brie, or tangy goat cheese. These flavors pair wonderfully with different types of crackers, such as whole grain or buttery options. When it comes to fruit, berries, grapes, or apple slices add a sweet touch.
Keep It Balanced
Balance is key! Incorporate protein sources like Turkey Bacon or Chicken Ham to keep you full. Adding nuts can also enhance the nutritional profile, giving you a satisfying crunch.
Presentation Matters
Consider using fun, colorful containers to create an appealing lunch. A divided lunch box or bento-style container can make everything look more inviting.
For more tips on healthy eating, check out resources from the Nutritional Science Institute.
Experiment and Enjoy
Feel free to mix and match ingredients according to your taste. Who says you can’t add a little honey or a sprinkle of herbs for extra flair? Getting creative not only makes eating enjoyable but can also be a great conversation starter during lunch breaks.
Fun Serving Suggestions for DIY Lunchables with Cheese, Crackers, and Fruit
Creating DIY Lunchables with Cheese, Crackers, and Fruit can be both fun and functional. Here are some serving suggestions to elevate your lunch game:
Create a Colorful Arrangement
Presentation matters! Use a variety of colorful fruits like strawberries, grapes, and apple slices to make your lunchable visually appealing. Place them alongside your cheese and crackers for a burst of color that’ll make you excited about lunch.
Pair with Sweet and Savory Dips
Enhance your flavors by adding some tasty dips. Hummus, tzatziki, or even a delightful fruit spread can complement the cheese beautifully. These dips add a new layer of taste and increase variety, making each bite more interesting.
Personalize Your Combos
Feel free to mix and match based on your preferences! For instance, consider pairing chicken ham with a sharp cheddar and sweet pineapple chunks. Experimenting will help you discover delightful combinations—after all, it’s your lunch!
For more ideas on interactive and engaging meals, check out Love and Lemons for fresh inspiration. Enjoy your lunch adventure!
Time Breakdown for DIY Lunchables with Cheese, Crackers, and Fruit
Preparation time
Getting your ingredients ready for DIY Lunchables with Cheese, Crackers, and Fruit takes only about 10 to 15 minutes. This includes washing and slicing your fruits, and gathering your cheese and cracker selections. Keeping it simple is key—pick fruits that are easy to prep, such as grapes or apple slices, which don’t require much fuss.
Assembly time
Once everything is prepped, assembling your lunchables will take another 5 to 10 minutes. Think of it as a fun, creative task! You can arrange the cheese, crackers, and fruits in a compartmentalized container or a bento box for an appealing look.
Total time
In total, you’ll spend around 15 to 25 minutes crafting these delightful DIY Lunchables with Cheese, Crackers, and Fruit. Perfect for a busy lunch hour or a quick snack during your workday, this time-efficient recipe allows you to enjoy healthy, homemade goodness without feeling rushed.
Ready to dive into the world of easy, nutritious lunches? Check out sources like Healthline or EatingWell for more inspiration!
Nutritional Information for DIY Lunchables with Cheese, Crackers, and Fruit
When crafting your DIY Lunchables with Cheese, Crackers, and Fruit, it’s essential to consider their nutritional value. With this combination, you’re not just enjoying a delicious treat but also delivering balanced nutrition.
Calories
A typical serving of these DIY Lunchables ranges from 250 to 350 calories, depending on the types and quantities of cheese, crackers, and fruit used. Opt for whole-grain crackers to keep calories in check while maximizing flavor.
Protein
One of the great perks of adding cheese and turkey bacon or chicken ham is the protein content, which can range from 10 to 15 grams per serving! That’s a fantastic boost for your midday slump, keeping you fuller for longer.
Dietary Fiber
Fruits and whole-grain crackers can provide about 3 to 5 grams of dietary fiber per serving. That’s crucial for digestion and maintaining energy levels throughout the day. Consider pairing with fiber-packed fruits like apples or berries for a satisfying mix.
For more detailed insights, you can visit the USDA FoodData Central to explore the specific nutritional information for each ingredient you include in your DIY Lunchables with Cheese, Crackers, and Fruit. By getting creative with your food choices, you can enjoy a tasty snack without compromising on health!
FAQs about DIY Lunchables with Cheese, Crackers, and Fruit
Can I use other types of cheese?
Absolutely! One of the best things about DIY Lunchables with Cheese, Crackers, and Fruit is the freedom to customize. While classic options like cheddar, mozzarella, and gouda are always a hit, consider trying goat cheese or pepper jack for a spicy twist. You could even experiment with vegan cheese if you’re looking for dairy-free alternatives. The key is to choose cheeses that pair well with your selected crackers and fruits.
How do I keep my lunchables fresh longer?
To make sure your DIY Lunchables with Cheese, Crackers, and Fruit stay fresh throughout the day, consider these simple tips:
- Use airtight containers: This not only prevents drying out but also keeps strong flavors from mingling.
- Keep items separate: If you’re worried about soggy crackers, use dividers or packing compartments to keep everything neat.
- Add ice packs: If you’re packing for lunch, consider using ice packs. Cold temperatures help maintain the quality of cheese and fruit, especially during warm months.
What fruits work best for DIY Lunchables?
Fruits add a delightful sweetness that balances the savory elements in DIY Lunchables with Cheese, Crackers, and Fruit. Here are some of the best fruit choices:
- Grapes: Easy to grab and pop in your mouth. Plus, they don’t require any cutting.
- Apple slices: A crunchy favorite that pairs well with cheddar. Just squeeze some lemon juice on the slices to prevent browning.
- Strawberries: Sweet and juicy, they add a vibrant color.
- Dried fruits, like apricots or figs, are great for adding unique flavors without the mess of fresh options.
Overall, mixing different flavors and textures will elevate your lunch game. Ready to give it a try? Your taste buds will thank you! For more ideas, check out this resource for healthy snacks that can inspire your DIY Lunchables.
Conclusion on DIY Lunchables with Cheese, Crackers, and Fruit
Creating your own DIY Lunchables with Cheese, Crackers, and Fruit is not just a fun activity, it’s also a fantastic way to enjoy a nutritious lunch while saving money. By choosing your favorite cheeses, proteins like Turkey Bacon or Chicken Ham, and a variety of fruits, you control every delicious bite and ensure your meal is balanced.
Have you ever considered how much fun it is to mix and match? Plus, packing your lunch can be a creative outlet. For more ideas on healthy lunches, check out resources from the American Heart Association for tips that inspire wellness. Embrace the joy of your DIY creations!
PrintDIY Lunchables with Cheese, Crackers, and Fruit: Easy Gourmet Twist
Create your own delicious and gourmet DIY Lunchables featuring cheese, crackers, and fresh fruit. Ideal for a quick lunch or snack!
- Prep Time: 10 minutes
- Total Time: 10 minutes
- Yield: 2 servings
- Category: Lunch
- Method: No-Cook
- Cuisine: American
- Diet: Vegetarian
Ingredients
- 1 cup assorted cheese cubes
- 1 package whole grain crackers
- 1 cup mixed fruit (grapes, apple slices, berries)
Instructions
- Prepare all ingredients by cutting cheese into cubes and washing fruit.
- Arrange cheese, crackers, and fruit neatly in a lunchbox or container.
- Seal the container and refrigerate until ready to serve.
Notes
- Feel free to substitute with your favorite cheeses and seasonal fruits.
- Consider adding nuts or mini chocolate bars for a sweeter treat!
Nutrition
- Serving Size: 1 lunchable
- Calories: 300
- Sugar: 15g
- Sodium: 200mg
- Fat: 15g
- Saturated Fat: 8g
- Unsaturated Fat: 5g
- Trans Fat: 0g
- Carbohydrates: 30g
- Fiber: 3g
- Protein: 10g
- Cholesterol: 30mg