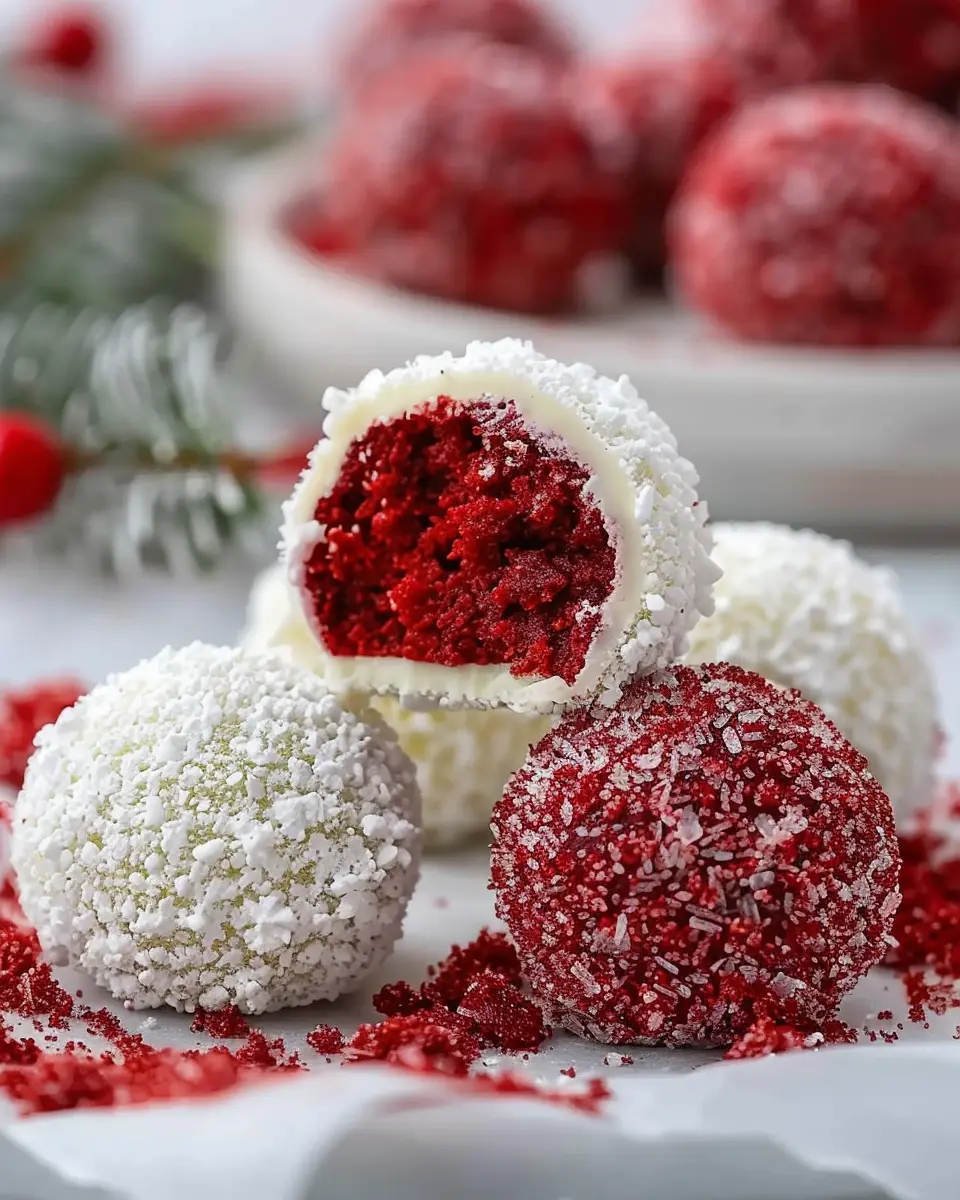
Introduction to Christmas Red Velvet Snowballs
The magic of holiday baking transforms any ordinary kitchen into a bustling holiday workshop. Picture this: the fragrant aroma of sweet confections wafting through the air, the sound of cheerful music in the background, and the clattering of mixing bowls as you prepare delicious treats to share with family and friends. There’s something special about creating home-baked goodies to celebrate the festive season, and one delightful recipe to add to your holiday repertoire is Christmas Red Velvet Snowballs.
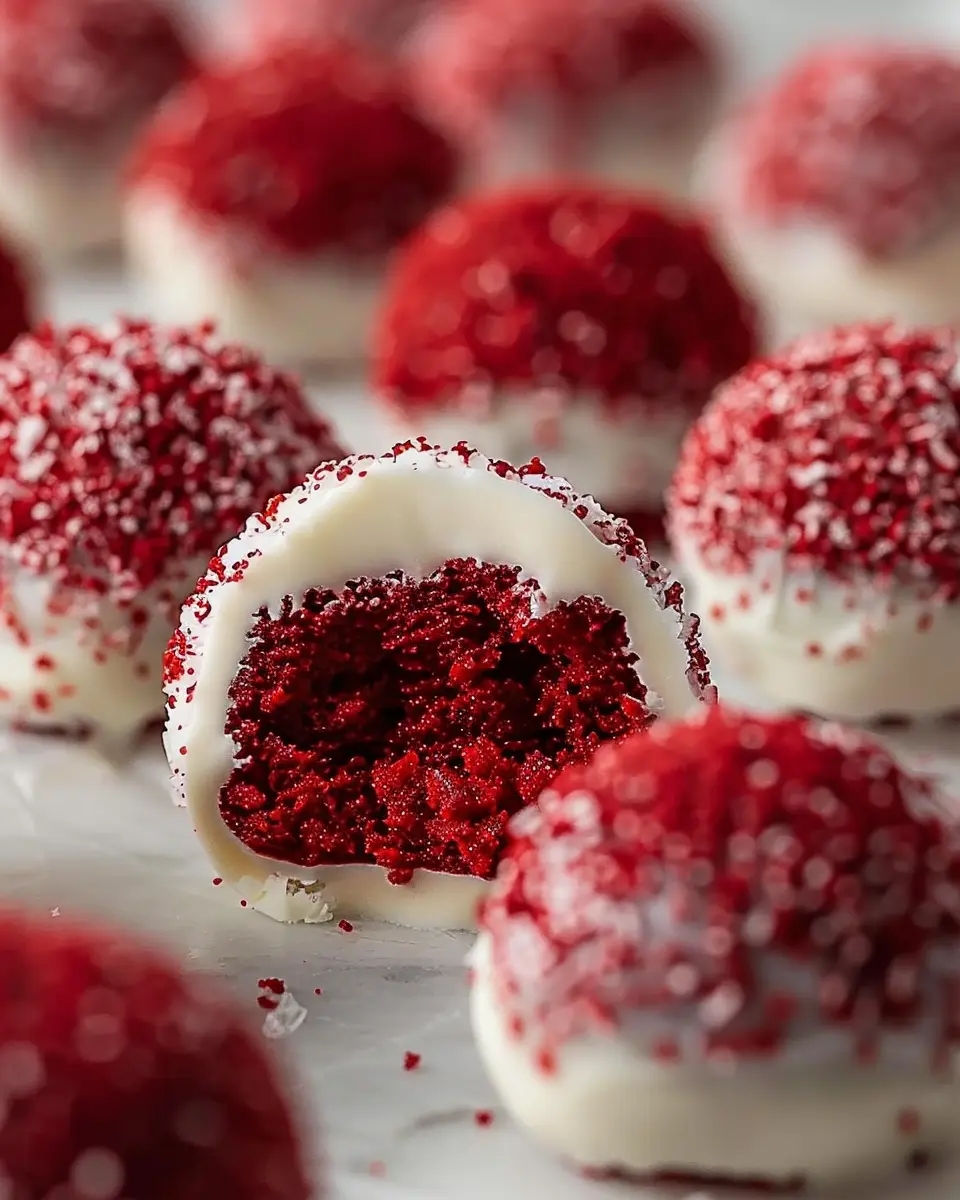
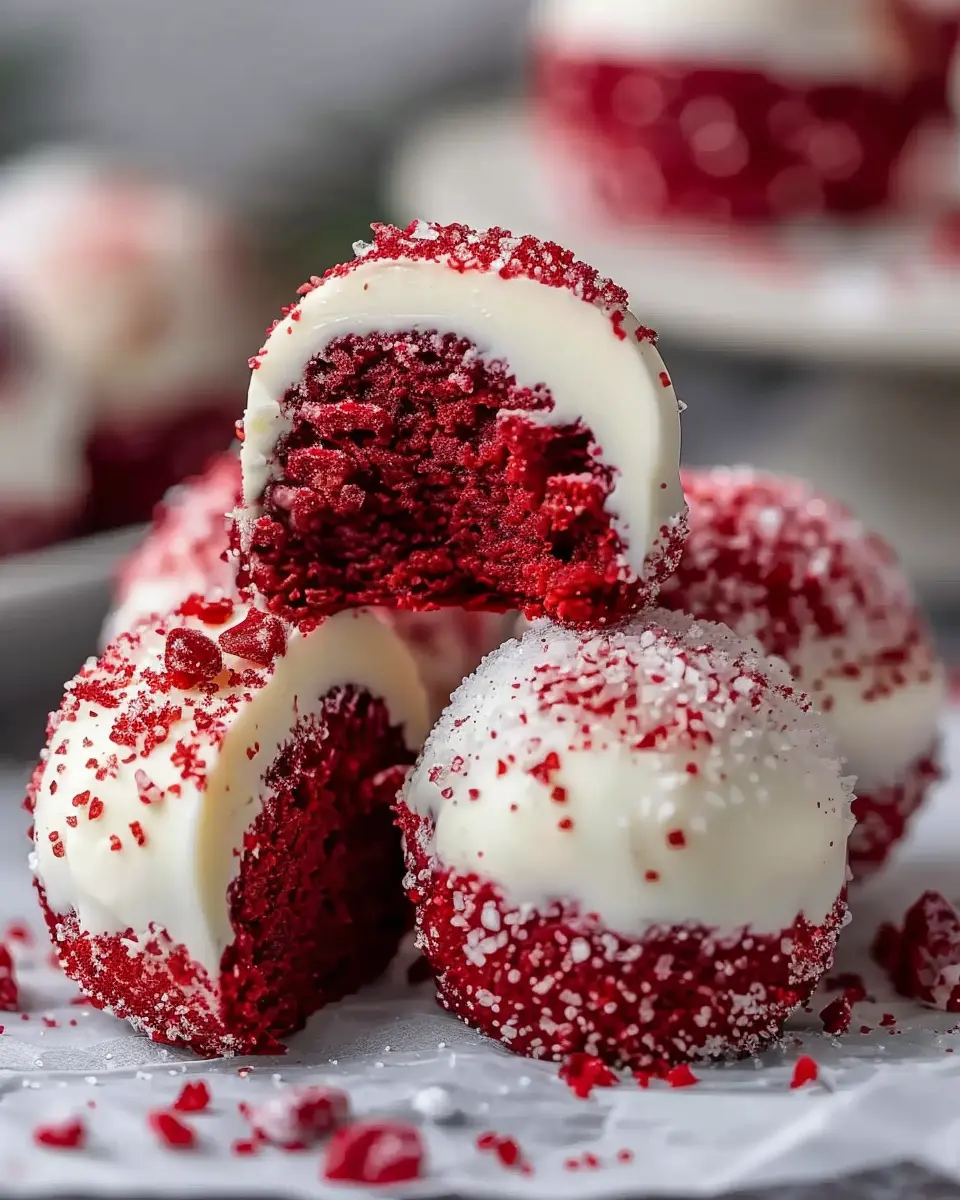
These charming little cookies, dusted with powdered sugar, are not only visually stunning with their vibrant red hue but also packed with a rich, festive flavor that encapsulates the spirit of Christmas. The combination of cocoa and buttermilk in red velvet gives them that unmistakable moist texture and unique taste, making them a hit at any holiday gathering. For those looking for variations, check out this helpful guide on red velvet cake variations that might inspire your own creativity in the kitchen.
Baking treats like these snowballs also allows you to infuse your personal touch into each creation, whether it’s through adding a sprinkle of cinnamon or creative icing designs. Plus, baking can be a great way to relieve the stress that often accompanies the holiday season. Research shows that engaging in creative activities can boost your mood – a perfect excuse to whip up these Christmas Red Velvet Snowballs!
The joy of sharing these sweet delights with loved ones adds a personal touch to holiday celebrations. Imagine presenting a platter of these delectable cookies at your next festive party. They’re simple enough to make, yet they carry an air of sophistication that will impress your guests. Whether enjoyed with a cup of hot cocoa or presented as a festive gift, Christmas Red Velvet Snowballs are bound to spread cheer and warmth during the holiday season.
So, roll up your sleeves, preheat that oven, and let’s make some magic happen!
Ingredients for Christmas Red Velvet Snowballs
Dry ingredients
To start crafting your delightful Christmas Red Velvet Snowballs, gather these essential dry ingredients:
- 2 cups all-purpose flour
- ½ cup cocoa powder
- 1 teaspoon baking soda
- ½ teaspoon salt
- 1 cup granulated sugar
The combination of these ingredients enhances the rich flavor and gives that signature festive hue!
Wet ingredients
Next up, we have the wet ingredients that make these delightful bites incredibly moist:
- ½ cup unsalted butter, softened
- 2 large eggs
- 1 tablespoon red food coloring
- 1 teaspoon vanilla extract
- ½ cup buttermilk
Each of these ingredients plays a crucial role in ensuring your snowballs are perfectly fluffy and oh-so-delicious.
For coating
Finally, to bring that magical touch to your Christmas Red Velvet Snowballs, you’ll need:
- 1 cup powdered sugar
- 1 teaspoon vanilla extract
Dusting the snowballs with this sweet coating will create a charming finish that your guests won’t forget!
For more on baking tips and techniques, check out resources from Food Network to enhance your culinary journey this Christmas!
Preparing Christmas Red Velvet Snowballs
Creating Christmas Red Velvet Snowballs is an experience filled with warmth, sweetness, and a splash of holiday spirit. These delightful treats are perfect for sharing at holiday gatherings or simply enjoying with loved ones by the fire. So, let’s roll up our sleeves and get into the kitchen!
Organize Your Kitchen
Start by preparing your kitchen for the delicious journey ahead! A clean and organized workspace makes all the difference; it helps you focus and streamlines the baking process. Gather all your tools and ingredients beforehand for a smooth experience:
- Mixing bowls
- Baking sheets
- Parchment paper
- Electric mixer (or whisk if you’re feeling adventurous)
- Measuring cups and spoons
Having everything handy will make the process more enjoyable. Plus, there’s something about the aroma of fresh baking that instantly lifts your spirits during the holiday season.
Mix the Dry Ingredients
In a medium-sized mixing bowl, it’s time to whisk together the dry ingredients that form the backbone of your Christmas Red Velvet Snowballs. Combine:
- 2 cups of all-purpose flour
- 1/4 cup of cocoa powder
- 1 teaspoon of baking soda
- 1/2 teaspoon of salt
Make sure to mix them well; this not only prevents clumps but also aids in full flavor distribution. If you’re curious about the science of baking, check out this great resource on ingredient interactions that breaks it down beautifully.
Cream the Butter and Sugar
Next, let’s move on to the creamy side of things. In a large bowl, combine 1 cup of softened unsalted butter (yes, that’s two sticks!) with 1 cup of granulated sugar. You want to beat these together until the mixture becomes light and fluffy. This process introduces air, giving your cookies that perfect texture. It usually takes about 3-5 minutes with an electric mixer. Feel free to take a moment here and reflect on just how delightful butter and sugar can be when combined!
Blend Wet and Dry Ingredients
Now, let’s unite the dry and wet ingredients for our Christmas Red Velvet Snowballs. Gradually mix in the dry ingredients into the butter and sugar mixture. Before it all comes together, add in two large eggs and 1 tablespoon of vanilla extract. Also, don’t forget to add a couple of teaspoons of red food coloring to get that iconic red hue!
You’ll eventually end up with a soft, vibrant cookie dough that sings of Christmas cheer.
Shape the Cookies
Once your dough is well combined, it’s time to take the plunge and form those irresistible cookie balls! Use a tablespoon or cookie scoop to portion out the dough and roll it into small 1-inch balls.
Place them on a baking sheet lined with parchment paper, making sure to leave some space in between each ball for spreading. Remember, these cookies like to expand!
Bake to Perfection
Preheat your oven to 350°F (175°C) and once it’s ready, pop those trays in! Bake your cookies for about 10-12 minutes. You’ll want to watch for a slight puffing up but be cautious not to overbake — a soft center is key for that melt-in-your-mouth experience once cooled.
Take a moment to savor the sweet aromas wafting through your kitchen. It’s like a warm hug on a cold December day!
Roll in Powdered Sugar
Here comes the finishing touch! Once the cookies are out of the oven, let them cool for a few minutes on the baking sheet. After they’ve cooled slightly, roll each cookie generously in powdered sugar. It creates that magical snowy effect, making them look festive and ready to impress.
And there you have it: your very own Christmas Red Velvet Snowballs! These delightful bites will surely become a cherished tradition in your home. Whether you’re serving them at a holiday party or keeping them all to yourself, they’re bound to spread some holiday joy.
Happy baking!
Variations on Christmas Red Velvet Snowballs
Add-ins for Extra Flavor
If you’re looking to elevate your Christmas red velvet snowballs, consider incorporating some delightful add-ins. Chocolate chips can introduce a rich, gooey element that complements the cream cheese frosting beautifully. For a bit of crunch, try adding nuts such as chopped walnuts or pecans. They provide a satisfying texture contrast and a nutty flavor that pairs wonderfully with the sweetness of the snowballs.
Have you considered seasonal flavors? A hint of peppermint extract or a sprinkle of crushed candy canes can turn your festive treats into holiday delights. Try experimenting with dried fruits like cranberries or cherries for an unexpected twist that also adds color!
Gluten-Free Options
Worried about accommodating gluten-free guests this Christmas? No problem! You can easily adapt your Christmas red velvet snowballs to be gluten-free. Simply substitute regular flour with a gluten-free all-purpose blend. Many popular brands like Bob’s Red Mill or King Arthur offer excellent options that work seamlessly in baked goods.
Additionally, using almond flour can lend a unique flavor and texture to your treats, making them even more scrumptious. Remember to check the labels on your cocoa powder and baking soda to ensure they’re gluten-free, too!
For even more tips on substituting ingredients and crafting delicious gluten-free desserts, the Gluten-Free Baking website is a great resource to explore.
With a few thoughtful tweaks, you’ll have everyone singing the praises of your festive creations, regardless of dietary needs. So why not gather some friends for a baking session? Share your creations and make holiday memories together!
Baking notes for Christmas Red Velvet Snowballs
When making Christmas Red Velvet Snowballs, texture is key for that melt-in-your-mouth experience. Here are some helpful tips to ensure your holiday treats come out perfectly every time.
Tips for achieving the perfect texture
-
Cream Cheese Butter: Using softened cream cheese and butter ensures a rich, moist base. Allow them to sit at room temperature for about 30 minutes prior to mixing.
-
Don’t Overmix: When combining dry and wet ingredients, mix just until incorporated. Overmixing can result in dense cookies rather than fluffy snowballs.
-
Chill the Dough: After shaping your dough into balls, refrigerate them for at least 30 minutes. This helps maintain their shape during baking and results in a more tender texture.
-
Proper Baking Temperature: Always preheat your oven to 350°F (about 175°C). Ensure your oven is fully heated for even baking.
-
Dust with Powdered Sugar: After baking, let the cookies cool completely before coating them in powdered sugar. This not only adds sweetness but also creates that signature snowball look.
Incorporate these tips, and you’ll serve up delightful holiday treats worthy of sharing with friends and family. Looking for more inspiration? Check out the Christmas baking guide for festive ideas!
Serving suggestions for Christmas Red Velvet Snowballs
Ideal pairings for festive gatherings
When it comes to serving Christmas Red Velvet Snowballs, presentation is just as important as flavor. Imagine a festive spread featuring these vibrant treats alongside a comforting hot cocoa bar, complete with whipped cream, marshmallows, and peppermint sticks. What a delightful way to warm up your guests!
Considering the savory treats, consider complementing your snowballs with a platter of Turkey Bacon-wrapped dates or Chicken Ham slices paired with a spicy mustard dip. The sweet and savory contrast will tantalize taste buds and keep the festive spirit alive.
Don’t forget to incorporate fresh seasonal fruits! A bowl of pomegranate arils or cranberry-infused sparkling water can add a refreshing touch. For an elegant finish, consider serving these snowballs with a dollop of cream cheese frosting on the side; your guests may just ask for seconds!
For more festive ideas, check out Food Network’s holiday recipes for inspiration. Your holiday gatherings will be unforgettable when you serve these scrumptious Christmas Red Velvet Snowballs with thoughtfulness and flair.
Tips for Making Perfect Christmas Red Velvet Snowballs
Avoiding Common Mistakes
Creating Christmas Red Velvet Snowballs can be an absolute joy, but a few common missteps can turn holiday cheer into holiday tears. One of the biggest mistakes is overmixing the dough; this can make your cookies tough instead of tender. Try mixing the ingredients just until they come together. Another pitfall is not chilling the dough long enough, which can result in spread-out, flat cookies. Aim to chill the dough for at least 30 minutes before baking. Lastly, don’t skimp on the powdered sugar when rolling your cookies after baking. A generous coating not only adds sweetness but also that snowy look that’s visually appealing.
Essential Equipment Recommendations
To achieve the best results when baking your Christmas Red Velvet Snowballs, use the right tools. A good quality mixing bowl can make a world of difference. Consider using a stand mixer for even mixing, especially if you’re making a large batch. A cookie scoop is another handy tool. It not only ensures uniformity in size but also helps with portioning the dough easily. Finally, parchment paper is a must for keeping your cookies from sticking to the baking sheet. Plus, it makes cleanup a breeze!
For more baking tips and equipment recommendations, check out The Kitchn’s Essential Baking Gear for a comprehensive list. Happy baking!
Time details for Christmas Red Velvet Snowballs
Preparation time
Making these delightful Christmas Red Velvet Snowballs starts with a quick prep session! You’ll need about 15 minutes to gather your ingredients and mix them together. It’s a fun process that lets you get your hands into the batter — perfect for shaking off the stress of the day.
Baking time
Once your dough is ready, the baking time is relatively short. You’ll pop your cookies in the oven for about 10-12 minutes. Keep an eye on them; as they bake, your kitchen will fill with a wonderful scent that’ll have everyone wandering in for a taste!
Total time
In total, you’re looking at roughly 30-35 minutes from start to finish. It’s a surprisingly quick treat that brings the festive spirit to your home without taking up your entire day. So, why not make a double batch? These Christmas Red Velvet Snowballs are totally worth it! For more festive ideas, check out resources like Taste of Home or Food Network.
Nutritional information for Christmas Red Velvet Snowballs
Calories per cookie
When indulging in Christmas Red Velvet Snowballs, it’s helpful to know that each delightful cookie contains approximately 120 calories. This makes them a festive treat you can enjoy without straying too far from your health goals, especially during the holiday season.
Sugar content
One of the biggest draws of these cookies is their rich flavor. However, it’s good to keep in mind that each snowball has about 10 grams of sugar. While this contributes to their delightful sweetness, it’s always wise to balance your dessert intake with healthier choices throughout the day.
Storage guidelines
To keep your Christmas Red Velvet Snowballs fresh, store them in an airtight container at room temperature for up to a week. If you’d like to prolong their life, you can freeze them for up to three months. Just make sure to separate layers with parchment paper to prevent sticking! For additional food storage tips, check out USDA guidelines.
Enjoy making and sharing these festive cookies, and remember, moderation is key during the holiday season!
FAQs about Christmas Red Velvet Snowballs
Can I make these ahead of time?
Absolutely! One of the best things about Christmas Red Velvet Snowballs is that they are perfect for preparing in advance. You can mix up the dough and form the balls, then chill them in the refrigerator for up to 24 hours before baking. This not only saves you time on the big day but also enhances the flavors, making them even more delightful.
How do I store leftover cookies?
If you have any leftover Christmas Red Velvet Snowballs, you’ll want to store them properly to maintain their softness and flavor. Place the cookies in an airtight container at room temperature. They can stay fresh for about 5-7 days. For an extra touch, try layering them with parchment paper to prevent sticking!
Can I freeze these cookies?
Yes, you can definitely freeze your Christmas Red Velvet Snowballs. They freeze quite well, making them a great option for holiday meal prep. To freeze, simply place the unbaked dough balls on a baking sheet and freeze until solid. Once frozen, transfer them to a freezer-safe bag. They’ll keep well for up to three months. When you’re ready to bake, there’s no need to thaw — just add a few extra minutes to the baking time!
By having this information at your fingertips, you can confidently create your holiday treats without the stress of last-minute preparations. Happy baking! If you want to learn more about cookie storage tips, feel free to check out this informative article on cookie preservation techniques!
Conclusion on Christmas Red Velvet Snowballs
Embracing the Spirit of Holiday Baking
As the holiday season approaches, Christmas Red Velvet Snowballs offer a delightful opportunity to celebrate the joy of baking. There’s something magical about whipping up these delicious treats in your kitchen; the vibrant color and rich flavors are sure to bring festive cheer to any gathering.
Baking together can strengthen bonds with family and friends, creating lasting memories. Did you know that baking is also a fantastic stress reliever? Plus, gifting these snowballs brings warmth and kindness to your community.
So roll up your sleeves, embrace the holiday spirit, and let the sweet aromas fill your home. Check out more baking inspiration from resources like Bon Appétit or Taste of Home!
PrintChristmas Red Velvet Snowballs: The Best Holiday Treats You’ll Love
Discover the joy of making Christmas Red Velvet Snowballs, a delightful treat perfect for the holiday season!
- Prep Time: 20 minutes
- Cook Time: 12 minutes
- Total Time: 32 minutes
- Yield: 24 servings
- Category: Desserts
- Method: Baking
- Cuisine: American
- Diet: Vegetarian
Ingredients
- 2 cups all-purpose flour
- 1 cup granulated sugar
- 1 cup unsweetened cocoa powder
- 1 teaspoon baking soda
- 1/2 teaspoon salt
- 1 cup butter, softened
- 2 large eggs
- 1 teaspoon vanilla extract
- 1 tablespoon red food coloring
- 1 cup powdered sugar for dusting
Instructions
- Preheat your oven to 350°F (175°C).
- In a large bowl, mix together flour, sugar, cocoa powder, baking soda, and salt.
- In another bowl, beat the butter until creamy, then add eggs, vanilla, and red food coloring. Mix until combined.
- Gradually add the dry ingredients to the wet mixture, mixing until a dough forms.
- Roll the dough into small balls and place them on a baking sheet.
- Bake for about 10-12 minutes or until set.
- Let them cool slightly, then dust with powdered sugar.
Notes
- For a festive touch, consider adding white chocolate chips to the dough.
- Let the snowballs cool completely before serving for the best texture.
Nutrition
- Serving Size: 1 snowball
- Calories: 150
- Sugar: 10g
- Sodium: 80mg
- Fat: 7g
- Saturated Fat: 4g
- Unsaturated Fat: 2g
- Trans Fat: 0g
- Carbohydrates: 21g
- Fiber: 1g
- Protein: 2g
- Cholesterol: 30mg