Introduction to Cannoli Bars
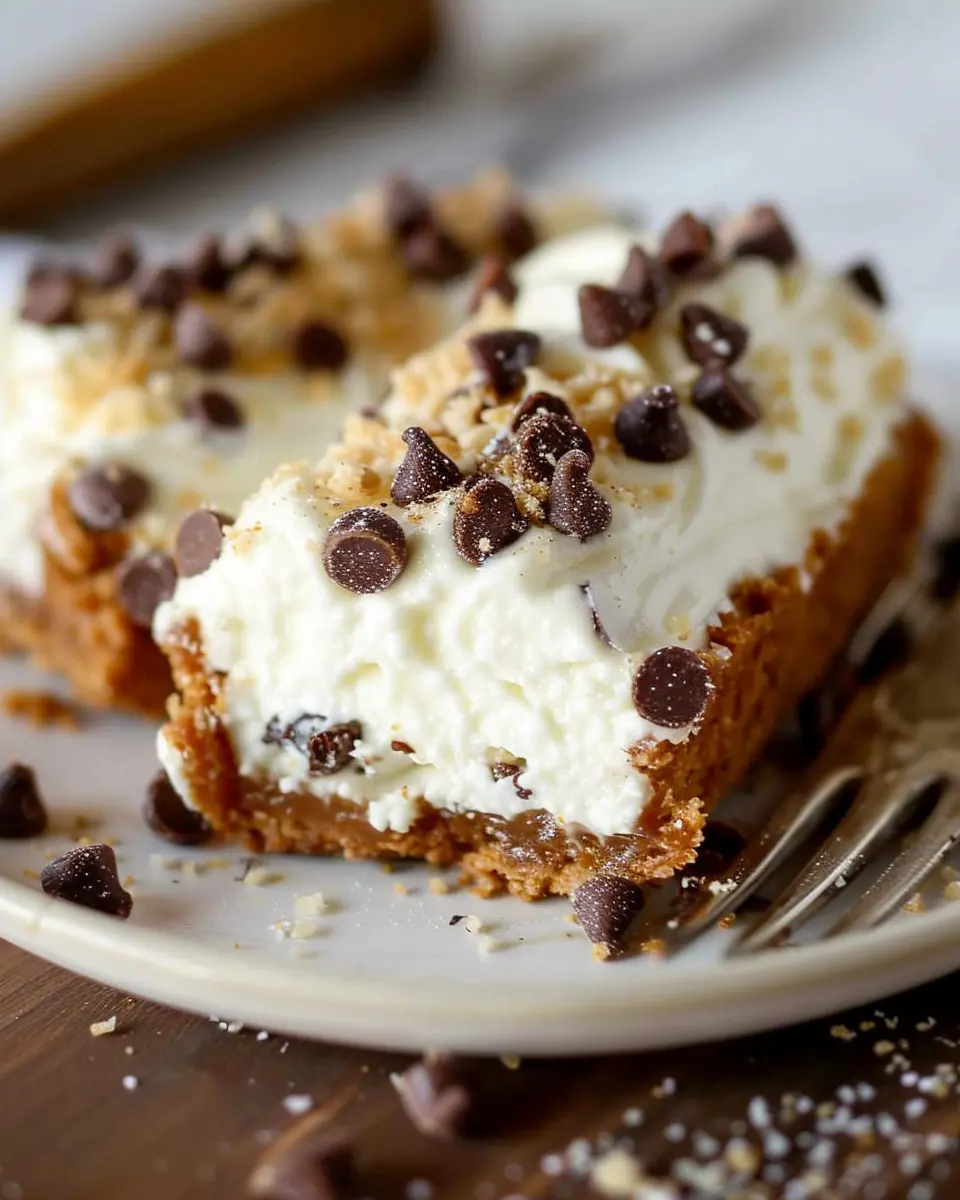
Have you ever had that moment when you take a bite of a dessert and feel an instant wave of happiness? Cannoli bars are that kind of joy in a dish! If you’re a fan of the classic Italian cannoli, then you’re in for a delightful treat with these bars. They encapsulate everything you love about the original pastry—rich, creamy filling with a hint of citrus, nestled in a delightful crust—without the fuss of making individual shells.
What makes cannoli bars the ultimate dessert?
Let’s break it down. First up, the filling. Traditional cannoli filling is made from ricotta cheese and often flavored with vanilla or sweetened with chocolate chips. But in cannoli bars, that creamy layer is spread over a crunchy base that brings a beautiful texture contrast. This makes each bite not just heavenly but also versatile. You can customize your filling with various flavors—think pistachio or even Nutella for a twist!
Another reason these bars shine is their presentation. Perfectly cut into squares, they offer a touch of elegance to any occasion, whether you’re hosting a dinner party or simply treating yourself after a long week. Imagine the delight of serving these at your next gathering; they could easily be the centerpiece of your dessert table. To top it all off, a dusting of powdered sugar provides that Instagram-worthy finish, making it hard to resist snapping a photo before diving in.
Making cannoli bars also aligns with the trend of simpler cooking at home. According to a survey by the National Restaurant Association, more home cooks are looking for recipes that combine ease with gourmet flair. These bars fit the bill perfectly, allowing busy professionals like you to whip up a delicious dessert in no time!
If you’re intrigued and want to explore these delicious bars further, check out Serious Eats for some great baking tips. And get ready to indulge in a dessert that’s sure to impress!
Ingredients for Cannoli Bars
Essential ingredients for the crust
Creating the perfect base for your cannoli bars starts with a buttery crust. For this, you’ll need:
- 1 cup all-purpose flour: This will give your crust that tender texture.
- 1/4 cup powdered sugar: Adding a bit of sweetness balances out the flavors.
- 1/2 cup unsalted butter: Always use cold, cubed butter for that flaky finish.
- 1/4 teaspoon salt: Enhances all the flavors wonderfully.
Key ingredients for the cheesecake filling
The heart of your cannoli bars lies in the rich cheesecake filling. Gather the following for a creamy delight:
- 16 oz cream cheese: Make sure it’s at room temperature for an smooth mix.
- 1/2 cup granulated sugar: This sweetens the filling beautifully.
- 1/2 teaspoon vanilla extract: A must for that aromatic kick!
- 1 cup ricotta cheese: Essential for authentic cannoli flavor and texture.
- Chocolate chips (optional): For added sweetness and texture.
Optional toppings and enhancements
Let’s not forget the fun part—toppings! These can add a delightful crunch or burst of flavor to your cannoli bars:
- Chopped pistachios: A fantastic nutty crunch.
- Extra chocolate chips or shavings: Because who doesn’t love chocolate?
- A dusting of powdered sugar: Perfect for that photo-ready finish.
Feeling inspired? Dive into this heavenly dessert that’s bound to impress your friends. If you’re looking for more ideas on cannoli-inspired treats, check out Serious Eats. Happy baking!
Preparing Cannoli Bars
When it comes to dessert, few things can rival the delightful flavor and texture of cannoli bars. The layers of sweet, creamy filling nestled within a buttery crust make these bars an irresistible treat for any occasion. Whether you’re hosting a gathering with friends or simply treating yourself after a long week, mastering the art of preparing cannoli bars will certainly impress. Here, we’ll walk you through the essential steps to create these delightful treats.
Step 1: Prepare the crust
The foundation of any great dessert is its crust, and for cannoli bars, you’ll want a perfectly baked base that complements the rich filling.
Ingredients needed for the crust:
- 1 ½ cups of all-purpose flour
- ½ cup of unsalted butter, softened
- ¼ cup of sugar
- 1 teaspoon of vanilla extract
- A pinch of salt
Instructions:
- Preheat your oven to 350°F (175°C).
- In a mixing bowl, combine the flour, sugar, and salt.
- Add the softened butter and vanilla, mixing until the mixture resembles coarse crumbs.
- Press the crust mixture evenly into the bottom of a greased 9×9 inch baking dish. It’s crucial to pack it down firmly so it holds together when cut.
Baking the crust until it’s golden brown will really elevate your cannoli bars, setting the perfect stage for your rich filling.
Step 2: Make the cannoli cheesecake filling
While the crust is baking, it’s time to whip up the luxurious cannoli cheesecake filling that will crown your bars.
Ingredients needed for the filling:
- 8 oz of cream cheese, softened
- 1 cup of ricotta cheese (ensure it’s well-drained)
- ¾ cup of sugar
- 1 teaspoon of vanilla extract
- Mini chocolate chips for the finishing touch
Instructions:
- In another mixing bowl, beat together the cream cheese and ricotta until smooth.
- Gradually add the sugar and vanilla, mixing until fully incorporated.
- Gently fold in chocolate chips; this adds that classic cannoli punch to your cheesecake filling.
This filling is not only rich but also surprisingly easy to make—there’s just something so satisfying about whipping together creamy ingredients.
Step 3: Assemble the cannoli bars
Once your crust is baked and the filling is ready, it’s time to bring the two together.
- Remove the baked crust from the oven and let it cool for a few minutes.
- Spread the cheesecake filling evenly over the crust using a spatula.
- For an extra touch, sprinkle additional mini chocolate chips or chopped nuts on top.
Am I the only one who finds pleasure in the layering of desserts? It’s like putting together a beautiful puzzle, and the moment when it all comes together is incredibly rewarding.
Step 4: Chill and set the bars
This step is crucial for achieving the perfect texture for your cannoli bars.
- Cover the baking dish with plastic wrap and place it in the fridge for at least 4 hours, or overnight if you have the patience.
Chilling allows the flavors to meld beautifully while helping the filling set. Think of the anticipation—you’ll be rewarded with a smooth, creamy dessert!
Step 5: Slice and serve
Finally, the moment we’ve all been waiting for: enjoying your delicious creation.
- Once set, use a sharp knife to cut the chilled bars into squares or rectangles.
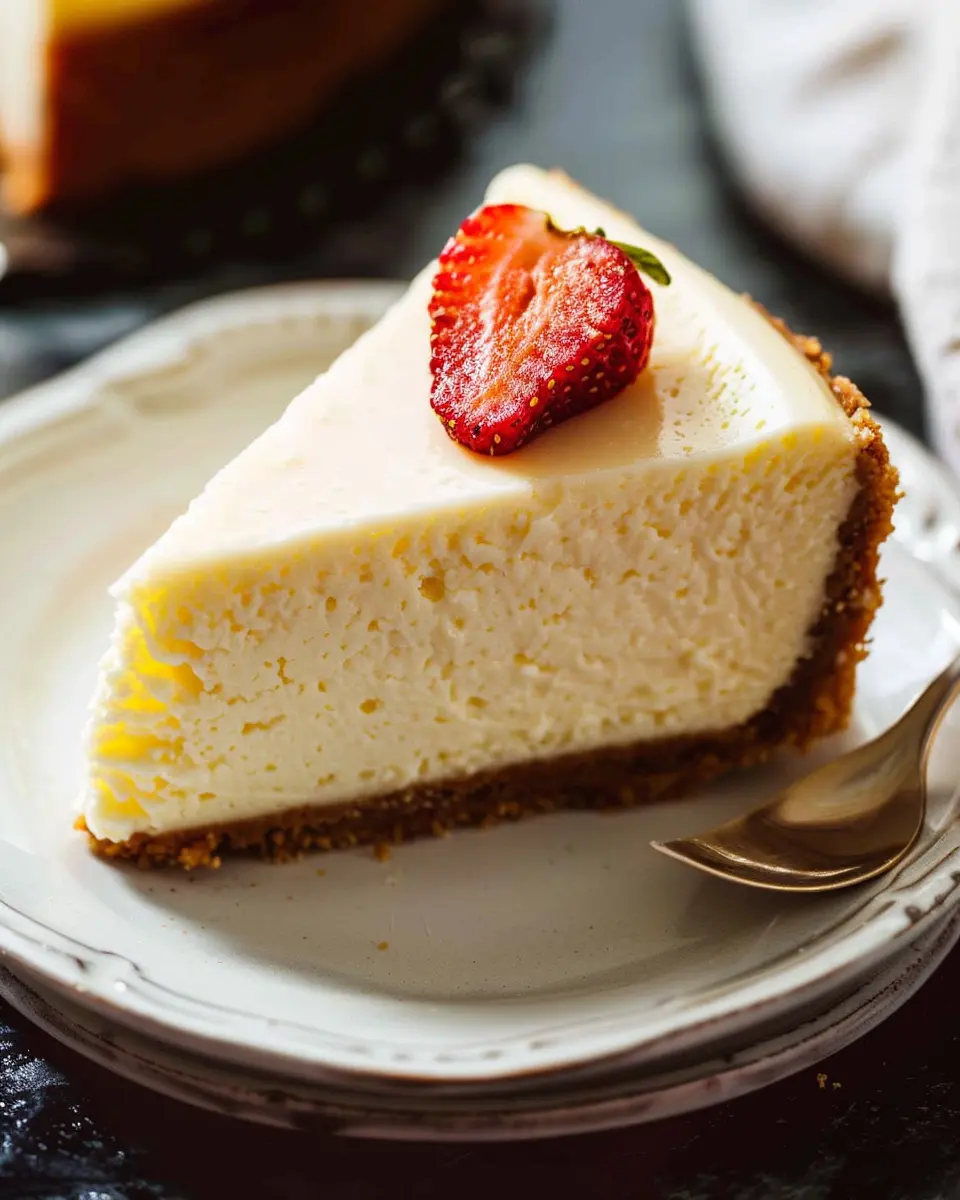
- For added flair, dust lightly with powdered sugar or garnish with fresh berries.
Serve them to family and friends, and watch their faces light up with delight as they savor every bite of these luscious cannoli bars. You might even consider pairing them with a cup of coffee or a warm cup of tea for a complete dessert experience.
By following these straightforward steps, you can transform simple ingredients into something truly extraordinary. So, grab your apron, gather your friends, and get ready for a delicious journey in the kitchen!
And who knows? Once your loved ones get a taste of these cannoli bars, they might just start requesting them for every gathering! Happy baking!
Variations on Cannoli Bars
If you think classic cannoli bars are delicious, just wait until you try these creative variations! Each one brings a unique flair to the table, making them perfect for any occasion. Let’s dive into some fabulous twists that will elevate your dessert game.
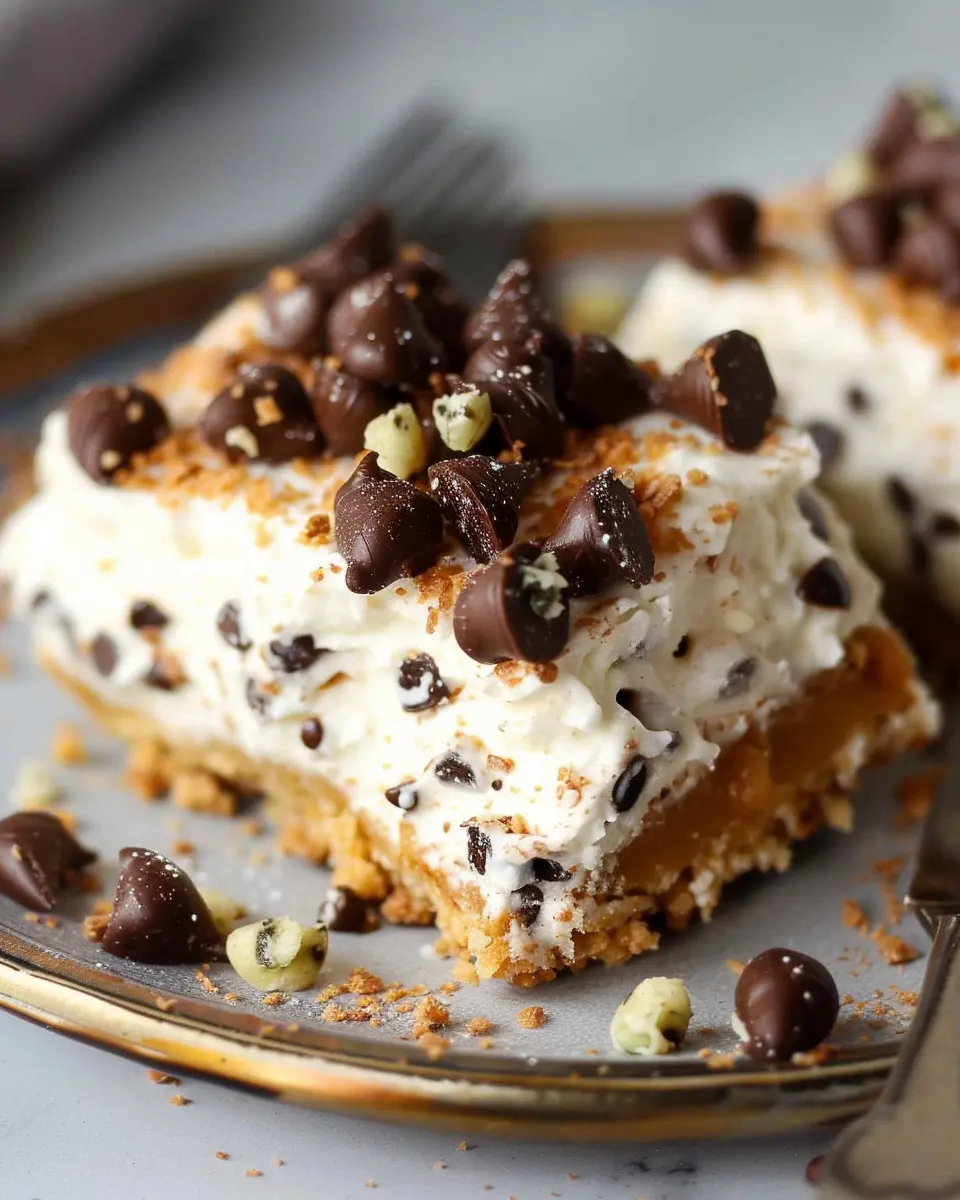
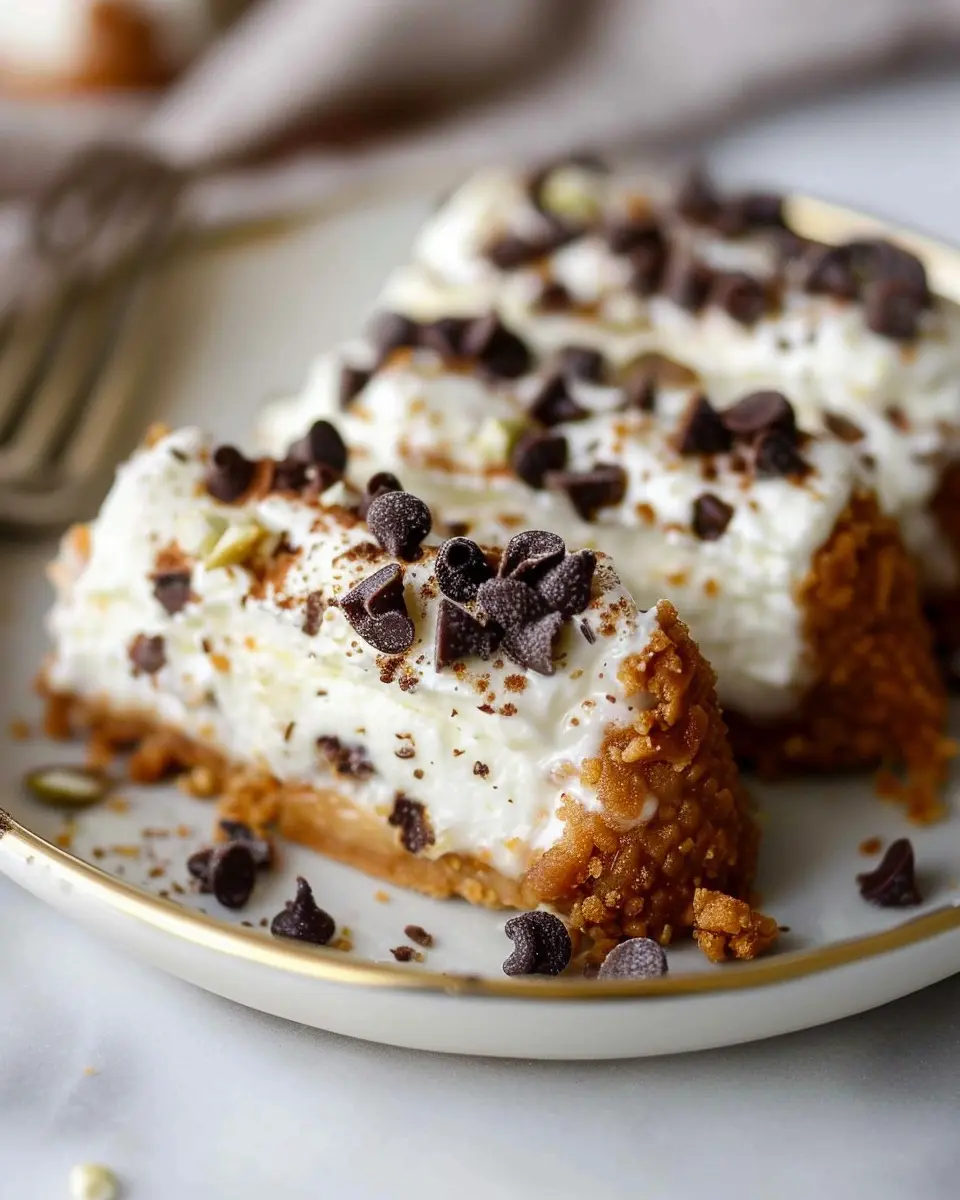
Chocolate Chip Cannoli Bars
For those who can’t resist a bit of extra sweetness, chocolate chip cannoli bars are a must-try. Start by adding semi-sweet chocolate chips to your filling; the creamy ricotta mixture pairs perfectly with the rich chocolate. Bake your bars to a golden brown, and watch as your friends and family go back for seconds. Did you know that chocolate can enhance mood? A little indulgence can be a big boost!
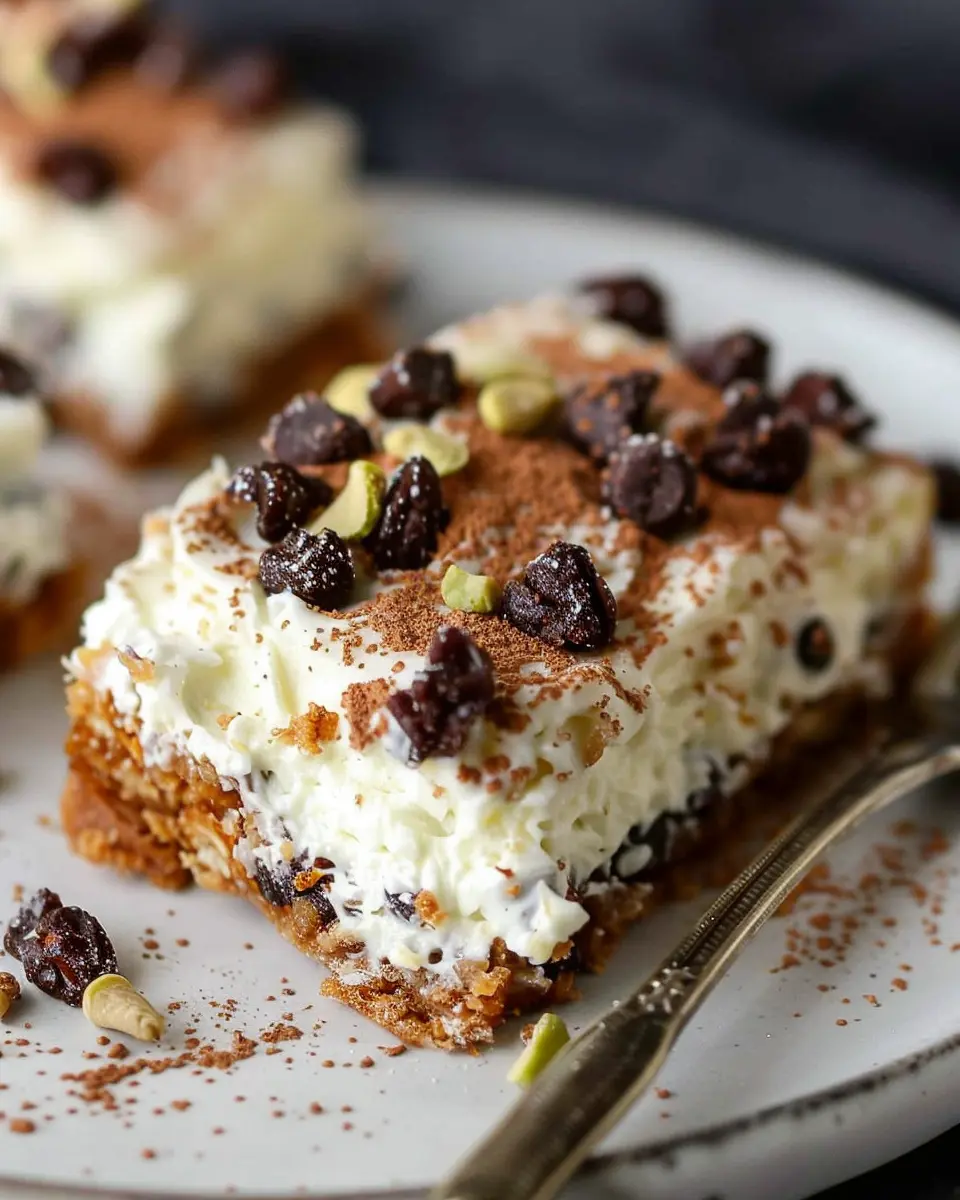
Pistachio-Infused Cannoli Bars
If you’re looking for a more sophisticated flavor, pistachio-infused cannoli bars are a delightful twist. Incorporate ground pistachios into the ricotta filling for a nutty, aromatic experience. Not only will the flavor be unique, but the green hue offers a pop of color. Garnish with crushed pistachios on top for a crunchy finish—the perfect blend of textures. Experts suggest that nuts can add a great source of healthy fats to your diet, making these bars a treat that’s not only tasty but nutritious.
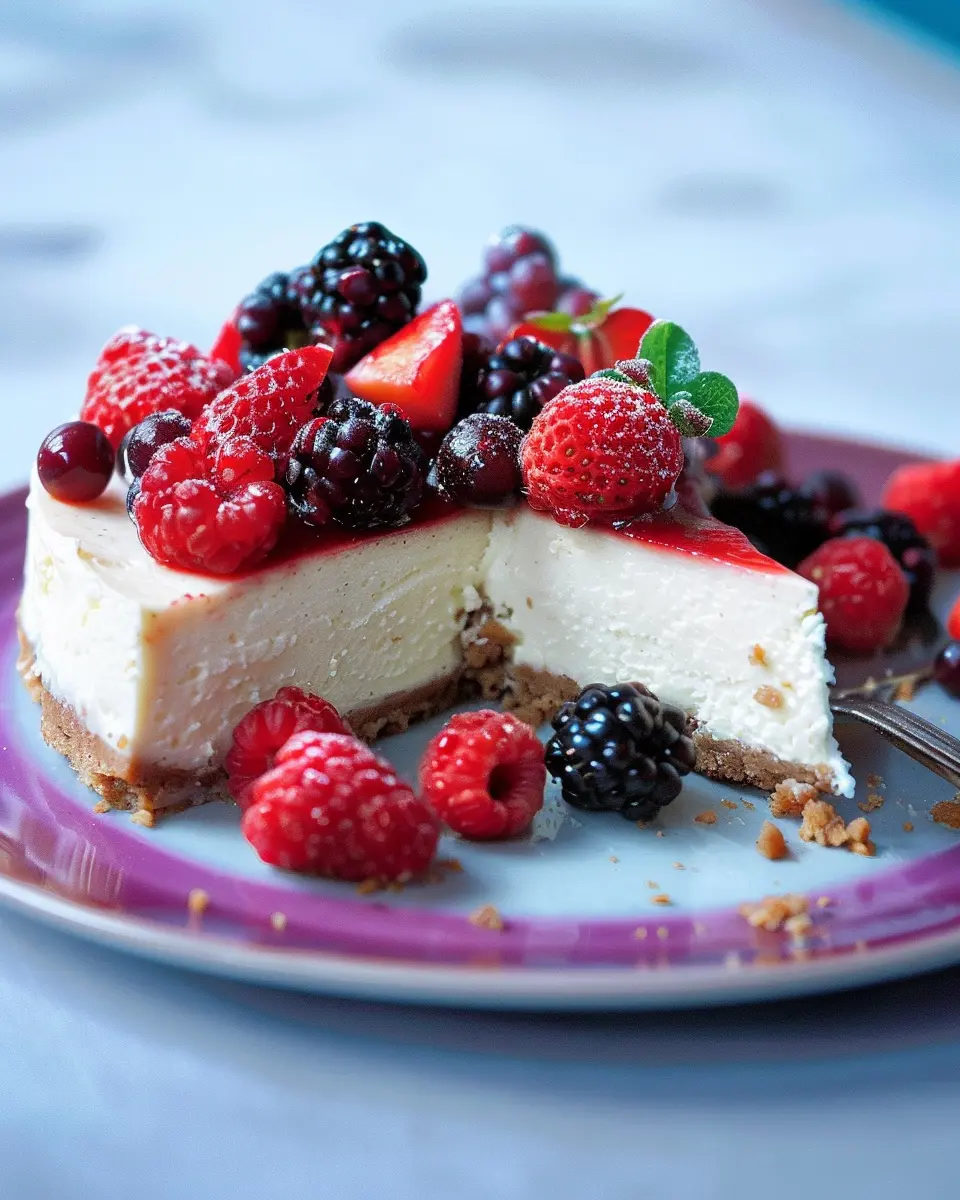
Seasonal Fruit Cannoli Bars
Why not embrace the seasons? Using fresh, seasonal fruits like berries in your cannoli bars can add a burst of flavor and natural sweetness. In the summer, try bursting blueberries or fresh strawberries mixed into the filling. In the fall, diced apples with a hint of cinnamon can warm up your palate. The possibilities are endless, and the result is a refreshing take on a classic.
With these variations, you’re not just limited to the traditional cannoli bars. So go ahead, experiment, and share your creations!
Baking Notes for Cannoli Bars
Common Mistakes to Avoid
When making cannoli bars, a few pitfalls can trip you up. One common mistake is overmixing the batter, leading to dense bars instead of the light and fluffy texture you want. Remember, just mix until the ingredients are combined. Another issue is undercooking; aim for a golden-brown top. Using a toothpick to check for doneness works wonders. Finally, don’t forget to cool your bars before slicing. This helps maintain their shape and prevents a crumble-fest!
How to Customize Flavors
Customizing your cannoli bars is an exciting way to make them uniquely yours! Consider these flavorful options:
- Zest it Up: Add lemon or orange zest for a citrusy kick.
- Nutty Goodness: Incorporate finely chopped pistachios or almonds.
- Chocolate Delight: Mix in mini chocolate chips or drizzle melted chocolate on top for an indulgent finish.
Feeling adventurous? Try infusing some espresso powder for a coffee-flavored twist that enhances your bars beautifully. For more ideas, check out Bon Appétit’s resource on flavor infusions. With these tips, your cannoli bars can be as personal as they are delicious!
Serving suggestions for Cannoli Bars
Presentation ideas for gatherings
When it comes to serving cannoli bars, presentation is key! An attractive display can elevate your dessert to a showstopper. Consider using a stylish wooden board or a vintage cake stand to showcase your cannoli bars. Arrange them neatly, and sprinkle some chopped pistachios or chocolate shavings on top for that extra flair. Personalize each bar with a small, colorful flag or label that shares fun flavor details. Don’t forget some fresh berries on the side—adding a splash of color makes the whole spread pop!
Pairing options with beverages
To complement your cannoli bars, think about serving them alongside some refreshing beverages. A homemade mint lemonade or an herbal iced tea can enhance the creamy sweetness without overpowering it. For a cozy vibe, whip up a rich coffee or a foamy cappuccino that pairs wonderfully with the crispiness and creaminess of the bars. Check out this guide to herbal teas for some exciting options! When offering drinks, variety is key, so consider a mix of hot and cold to cater to all preferences.
These thoughtful serving suggestions will ensure your cannoli bars are the highlight of any gathering!
Tips for Making Perfect Cannoli Bars
Storage Advice for Freshness
To ensure your cannoli bars stay fresh and delightful, store them properly. Use an airtight container to shield them from air and moisture, which can ruin their texture. The bars can be refrigerated for up to a week, but for the best taste, aim to enjoy them within three to four days. If you want to make them ahead of time, consider preparing the filling separately and assembling the bars just before serving. This will keep the crust crispy and the filling fresh!
Reheating Options and Serving Tips
You might be wondering, “Can I reheat cannoli bars?” While it’s best to serve them fresh, if you have leftovers, you can gently warm them in the oven at a low temperature for a few minutes. Just be careful not to overdo it; you want to maintain the delightful crunch.
When serving, consider garnishing your cannoli bars with a dusting of powdered sugar or drizzling melted chocolate on top for an extra touch of elegance. Pair them with a robust coffee, like a rich espresso or aromatic cold brew, to complement the creamy filling beautifully.
For more ideas, check out this comprehensive guide on dessert pairing that explores ways to enhance your sweet treats!
Now, go ahead and whip up these delicious treats that will surely impress your guests!
Time details for Cannoli Bars
When you’re gearing up to whip up some delicious cannoli bars, knowing the timing is essential for a hassle-free baking experience. Here’s a breakdown to help you organize your kitchen time efficiently.
Preparation time
Expect to spend around 30 minutes getting your ingredients prepped and the batter ready. This includes measuring, mixing, and assembling all the delightful components that make your cannoli bars so special.
Chill time
After preparing, you’ll need to let your cannoli bars chill for about 2 hours. This step ensures that your dessert firm up beautifully, allowing the flavors to meld—that’s when the magic really happens!
Total time
In total, you’re looking at about 2 hours and 30 minutes from start to finish. Not a bad investment when you consider how satisfying it’ll be to indulge in these creamy, delightful bars with friends or after a long day.
So, what are you waiting for? Dive into the world of cannoli bars and treat yourself! If you need further inspiration, check out resources like Food Network for tips and tricks on dessert making.
Nutritional Information for Cannoli Bars
Calories per serving
When indulging in cannoli bars, each serving typically contains around 250 calories. This makes them a delightful treat without completely overloading your daily caloric intake.
Breakdown of macronutrients
For those keen on knowing more about cannoli bars and their nutritional content, here’s a helpful overview of macronutrients:
- Carbohydrates: Approximately 30g per serving
- Protein: Roughly 5g per serving
- Fat: Around 10g per serving, with a good balance of healthy fats
These bars can be a satisfying snack to enjoy without feeling guilty. They mix just the right amount of sweet, creamy filling with a delightful crust. Looking for more information on how to balance treats in your diet? Check out resources like Healthline for valuable insights!
With this knowledge, you can enjoy your cannoli bars mindfully and make delicious choices in your food journey.
FAQs about Cannoli Bars
Can I make these cannoli bars gluten-free?
Absolutely! To create gluten-free cannoli bars, simply swap out the regular flour for a high-quality gluten-free blend. Brands like Bob’s Red Mill or King Arthur Flour often work well, but be sure to check for any added thickeners or flavors that you might want to avoid. If you’re using gluten-free pastry, keep an eye on the texture—some blends can yield different results.
How do I store leftover cannoli bars?
If you’re lucky enough to have leftovers (a rare occurrence for these delicious treats!), store your cannoli bars in an airtight container in the refrigerator. They’ll keep well for about 3 to 4 days. To maintain their freshness, try separating the filling and the crust if possible. The shells can lose their crunch over time, but a quick bake can revive them if needed! For longer storage, consider freezing them—just wrap them securely.
What’s the best way to serve cannoli bars?
Serving cannoli bars is as delightful as eating them! For a touch of elegance, dust them with powdered sugar and add a dollop of whipped cream on top. Pair them with a fresh fruit compote or even a scoop of gelato for that heavenly Italian dessert experience. If you’re hosting a party, cut the bars into bite-sized pieces for easy-sharing, and don’t forget to plate them beautifully! Presentation matters, and a sprinkle of chocolate shavings can add a special touch.
For additional tips on dessert presentation, you might find these resources helpful from The Spruce Eats and Epicurious. Enjoy your cannoli bars!
Conclusion on Cannoli Bars
Why you need to try making cannoli bars at home!
If you’ve never tried making cannoli bars at home, you’re truly missing out. These delicious treats offer all the creaminess of traditional cannoli in a convenient, shareable form. Think about the satisfaction of biting into a crispy crust filled with sweet ricotta and chocolate chips, all while knowing you crafted it yourself.
Not only are cannoli bars a delightful twist on a classic, but they’re also customizable to suit your taste. You might even discover new flavor combinations that you love! So gather your ingredients, invite some friends, and enjoy the fun of baking together. Your homemade cannoli bars are sure to impress! For more inspiration and fun recipes, check out The Spruce Eats for additional dessert ideas.
PrintCannoli Bars: Indulgent Treats You Can Easily Make at Home
Delve into the world of Cannoli Bars, a delightful dessert that brings the classic Italian treat into a portable form. Perfect for gatherings!
- Prep Time: 15 minutes
- Cook Time: 20 minutes
- Total Time: 35 minutes
- Yield: 12 bars
- Category: Dessert
- Method: Baking
- Cuisine: Italian
- Diet: Vegetarian
Ingredients
- 1 package cannoli shells
- 2 cups ricotta cheese
- 1 cup powdered sugar
- 1 teaspoon vanilla extract
- 1/2 cup mini chocolate chips
- 1/4 cup chopped pistachios
Instructions
- Preheat your oven to 350°F (175°C).
- In a bowl, combine ricotta cheese, powdered sugar, and vanilla extract until smooth.
- Fold in mini chocolate chips and chopped pistachios.
- Layer the cannoli shells in a baking dish and fill with the ricotta mixture.
- Bake for 15-20 minutes or until golden brown.
- Let cool before serving.
Notes
- Serve with a dusting of powdered sugar on top.
- For an extra touch, drizzle with chocolate sauce.
Nutrition
- Serving Size: 1 bar
- Calories: 250
- Sugar: 15g
- Sodium: 200mg
- Fat: 10g
- Saturated Fat: 4g
- Unsaturated Fat: 5g
- Trans Fat: 0g
- Carbohydrates: 30g
- Fiber: 1g
- Protein: 5g
- Cholesterol: 20mg