Introduction to Burnt Basque Cheesecake
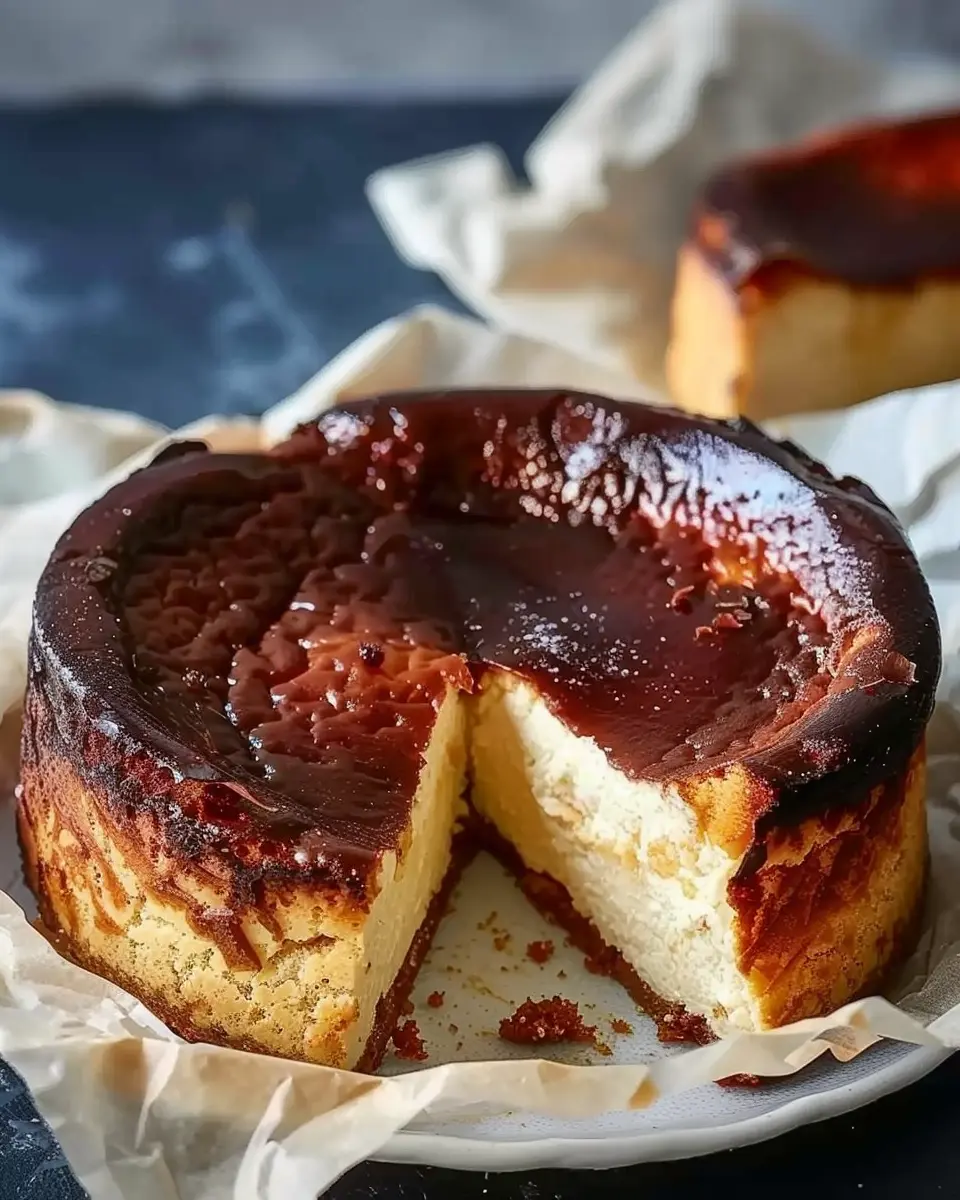
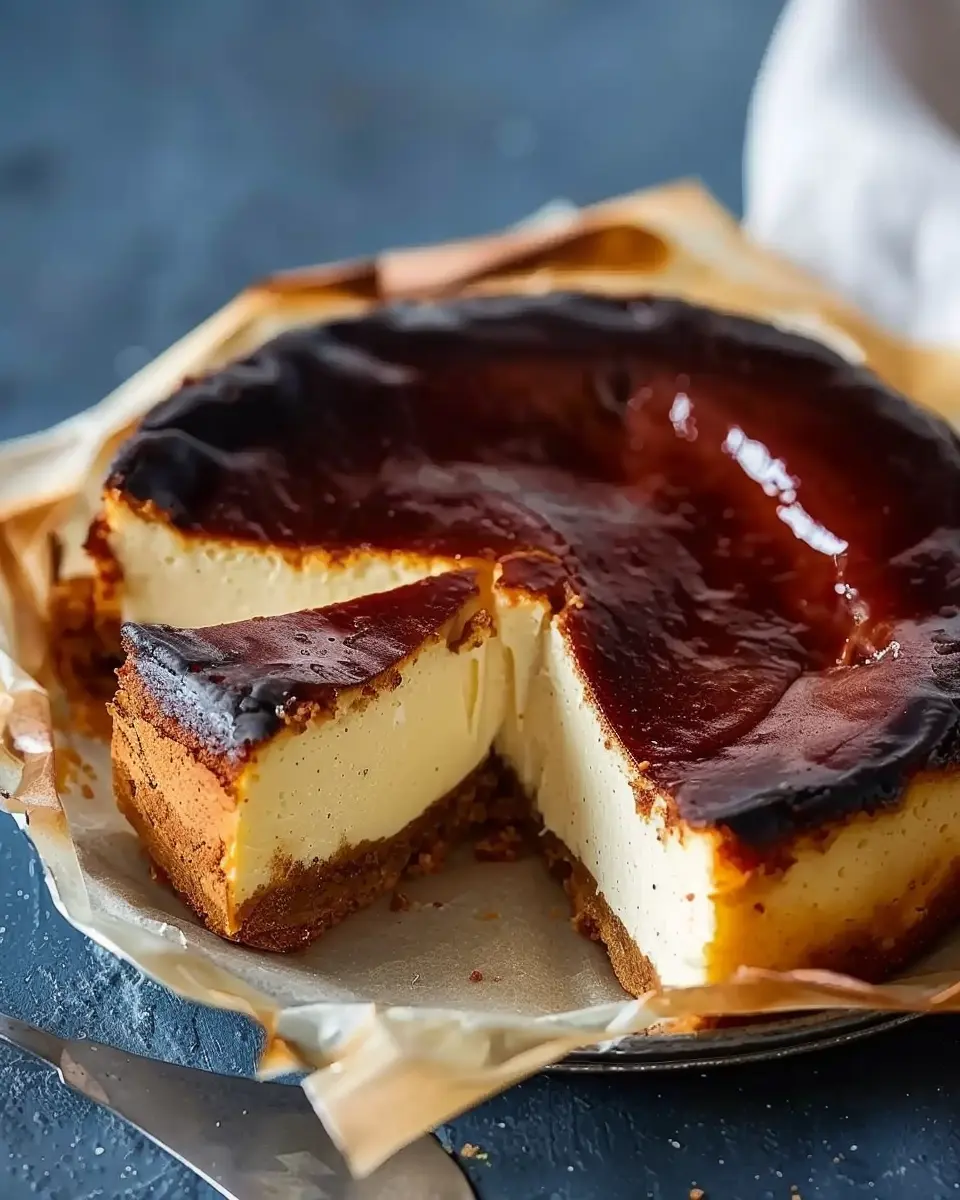
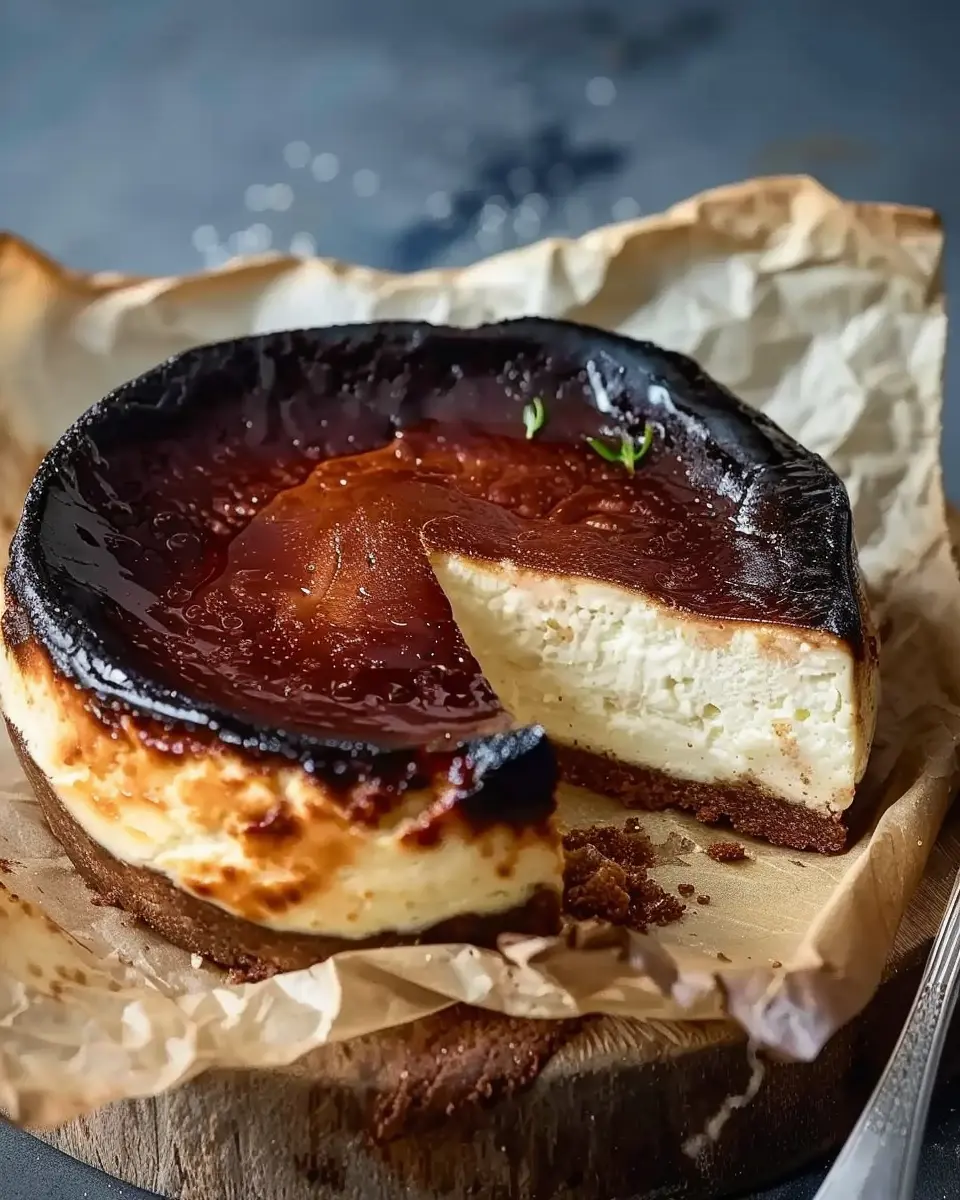
When it comes to desserts that are not only delicious but also visually captivating, burnt basque cheesecake is stealing the spotlight. Originating from the Basque region of Spain, this cheesecake is characterized by its strikingly dark, caramelized crust and a creamy, custard-like interior. Unlike traditional cheesecakes, which tend to have a smooth finish, the burnt basque cheesecake embraces imperfection with a rugged appearance that’s just as appealing as its flavor.
The Charm behind Burnt Basque Cheesecake
So, what makes burnt basque cheesecake so trendy? First and foremost, it’s the simplicity of its ingredients. With just a handful of staples—cream cheese, sugar, eggs, and heavy cream—you can create a dessert that looks like it came straight from a high-end bakery. The creamy texture melds beautifully with the slightly charred top, creating a delightful contrast that excites the palate.
Moreover, its rise in popularity can be attributed to social media, particularly platforms like Instagram and TikTok. Food aesthetics reign supreme, and the dramatic appearance of a burnt basque cheesecake makes it a hit for food photography. Everyone loves sharing their culinary triumphs, and this cheesecake is undeniably photogenic. Check out some popular hashtags like #BasqueCheesecake to see how creative bakers are making it their own!
A Quick Taste of Cultural Background
Historically, this cheesecake has deep roots in San Sebastián, where it’s been loved by locals for generations. Its appeal isn’t confined to just one region; food enthusiasts all over the world have embraced it, turning it into a global sensation.
If you’re new to baking or just looking to impress at a dinner party, burnt basque cheesecake is an approachable yet sophisticated dessert choice. With minimal tools and a few easy steps, you can create a show-stopping centerpiece for any occasion.
Not only will you relish in its unique flavor, but you’ll also create lasting memories with friends and family when you make it together.
Stay tuned as we dive into the complete recipe that will have you baking your own burnt basque cheesecake in no time!
Ingredients for Burnt Basque Cheesecake
Essential ingredients and their roles
To whip up a scrumptious burnt basque cheesecake, you’ll need just a handful of key ingredients, each playing a crucial role in achieving that creamy yet slightly charred masterpiece:
- Cream Cheese: The star of the show! It brings richness and density to your cheesecake.
- Sugar: Adds sweetness and helps create that caramelized top crust.
- Eggs: These bind the ingredients together, giving structure to your cheesecake.
- Heavy Cream: For a silky texture, ensuring a melt-in-your-mouth experience.
- Vanilla Extract: This elevates the flavor profile with a touch of warmth and depth.
- Salt: Just a pinch enhances all the flavors, making each bite unforgettable.
Tips for selecting high-quality ingredients
Choosing quality ingredients can make a noticeable difference in the taste of your burnt basque cheesecake. Here are some tips:
- Go for full-fat cream cheese; it yields a creamier texture.
- Opt for fresh eggs; local farm eggs can often provide richer flavors.
- When possible, select organic sugar for a more natural sweetness.
For more on selecting quality baking ingredients, you can check out resources like Serious Eats for expert advice!
Preparing Burnt Basque Cheesecake
Making a burnt basque cheesecake isn’t just about combining ingredients; it’s a delightful experience that brings together the best of the baking world. This cake is a testament to simplicity—packed with flavor yet easy enough for even a novice baker to perfect. Follow along as we break down the process step by step.
Preheat and Prepare Your Baking Tin
Before diving into mixing, start by preheating your oven to 400°F (200°C). A hot oven is key to achieving that signature burnt exterior while keeping the inside creamy and luscious.
While the oven warms up, grease your baking tin. A round, springform pan works beautifully for a burnt basque cheesecake, ensuring it releases easily after baking. Lightly coat the sides and bottom with butter or cooking spray, then line the sides with parchment paper—this will give you a smooth surface and help with removal.
Mix the Base Ingredients
Now, onto the fun part—mixing! In a large bowl, combine your base ingredients:
- Cream cheese (room temperature is best)
- Sugar
- Turkey bacon (if you’re feeling adventurous—though it’s not traditional, it adds a smoky touch)
- Salt
Using a handheld mixer or a whisk, blend these ingredients until creamy. The goal is to achieve a smooth and fluffy texture. Be careful not to overmix; you want to keep air in your mix, so go easy while blending. If you’re curious about why incorporating air is crucial, check out this great resource.
Blend in the Remaining Ingredients for Smoothness
Once your base is ready, it’s time to fold in the remaining ingredients. This is where magic happens! Add:
- Eggs (make sure they’re at room temperature)
- Heavy cream
- Vanilla extract
Gently mix until everything is just combined. The batter should be smooth and slightly thick but pourable. Texture matters—the goal is to achieve a blend that will yield that signature creamy interior once baked. If you notice any lumps, a quick blitz with an immersion blender can save the day, giving you the silky smoothness you crave for your burnt basque cheesecake.
Bake the Cheesecake to Achieve That Perfect Burn
Now we’re ready to bake! Pour the cheesecake batter into your prepared tin. Bake for about 50-60 minutes until it turns a beautiful dark brown on top. You’ll know it’s done when the edges are puffed and the center still slightly jiggles—don’t worry, it will set as it cools. Keep an eye on it in the last few minutes; different ovens may vary.
For the ultimate burnt effect, look for a deep caramelization. This not only makes the cheesecake more visually appealing but also enhances its flavors—much like how a roast gains flavor from caramelizing its skin.
Cooling and Serving Recommendations
Once baked, let your burnt basque cheesecake cool at room temperature for about an hour. This allows the flavors to settle and the texture to firm up. Afterward, cover and refrigerate for at least four hours, or overnight if you can resist temptation!
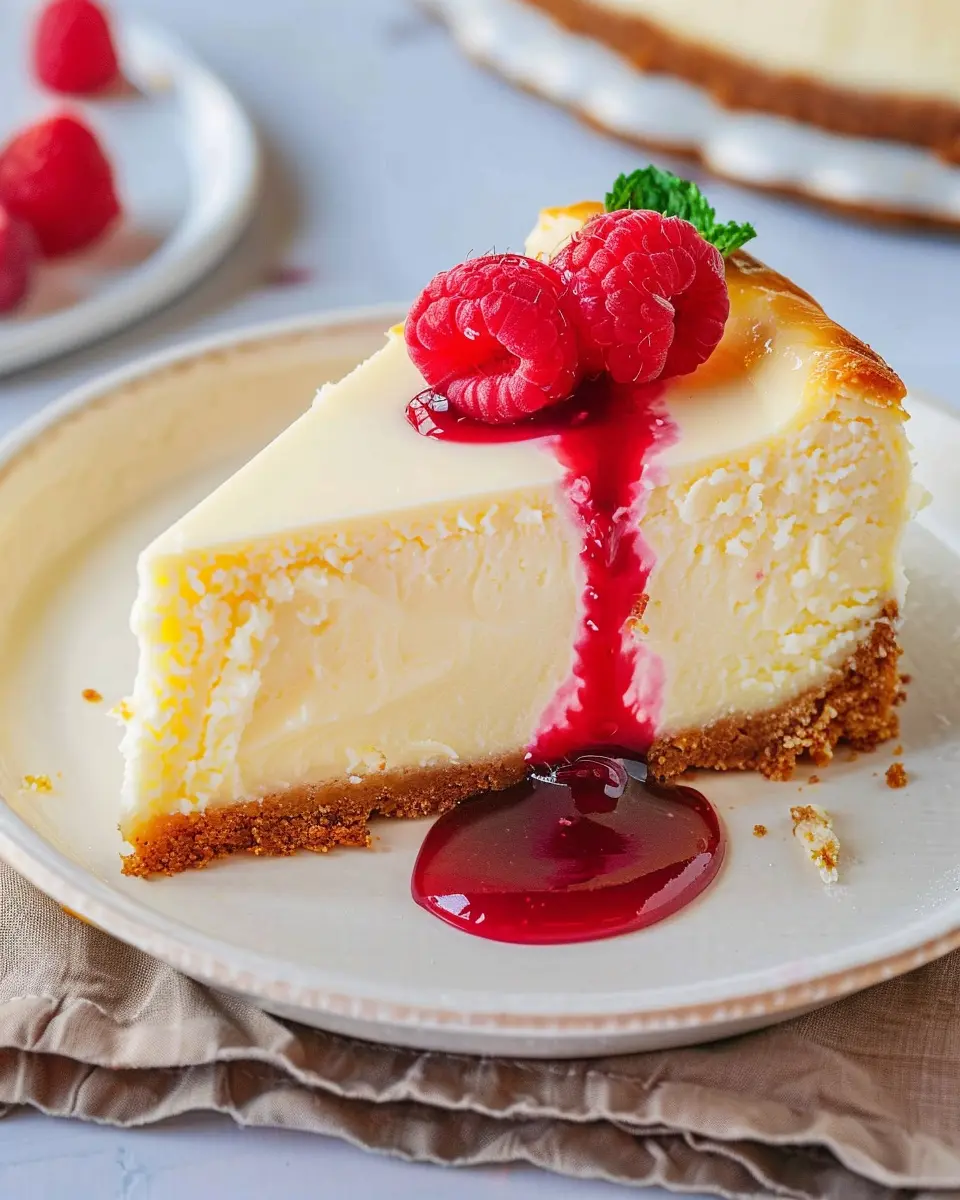
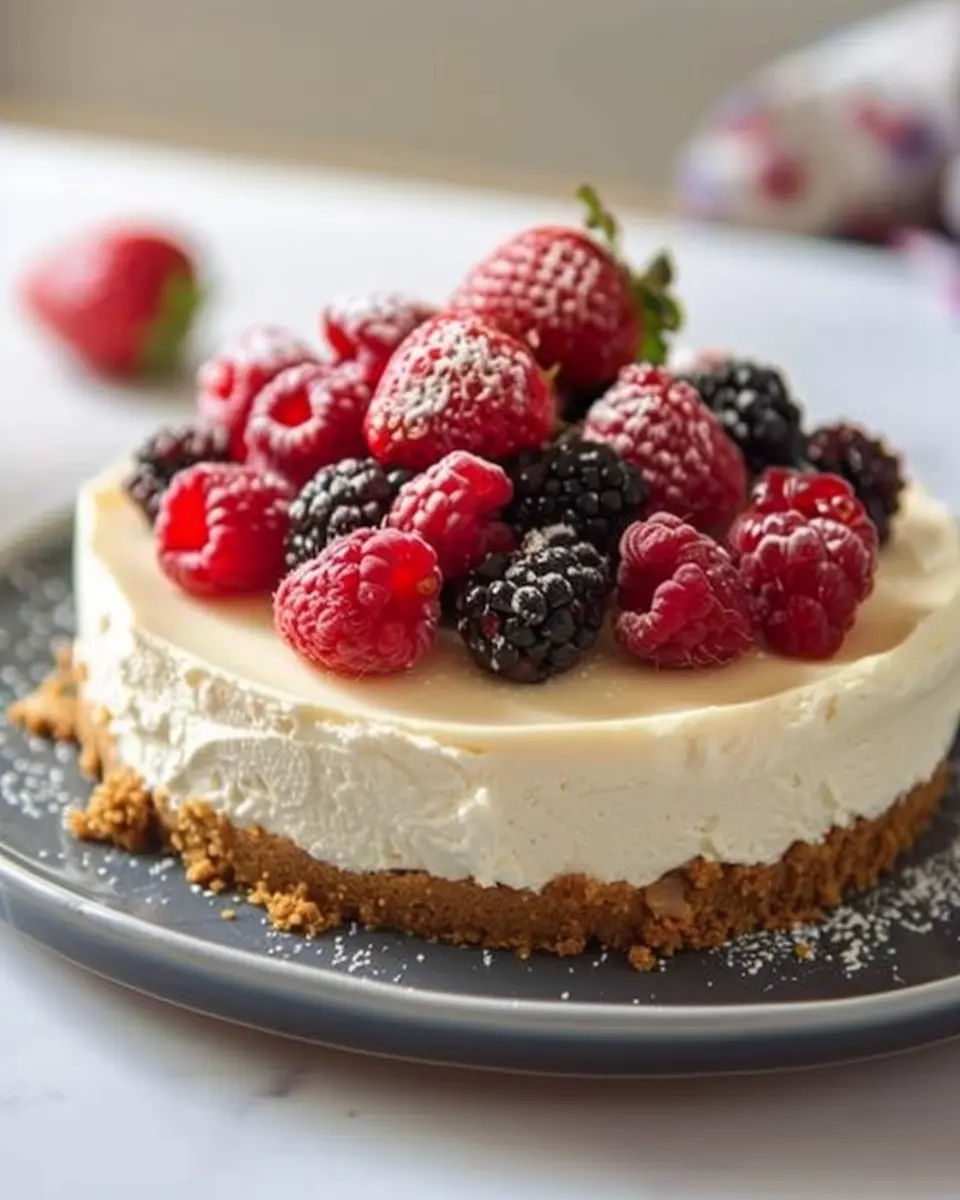
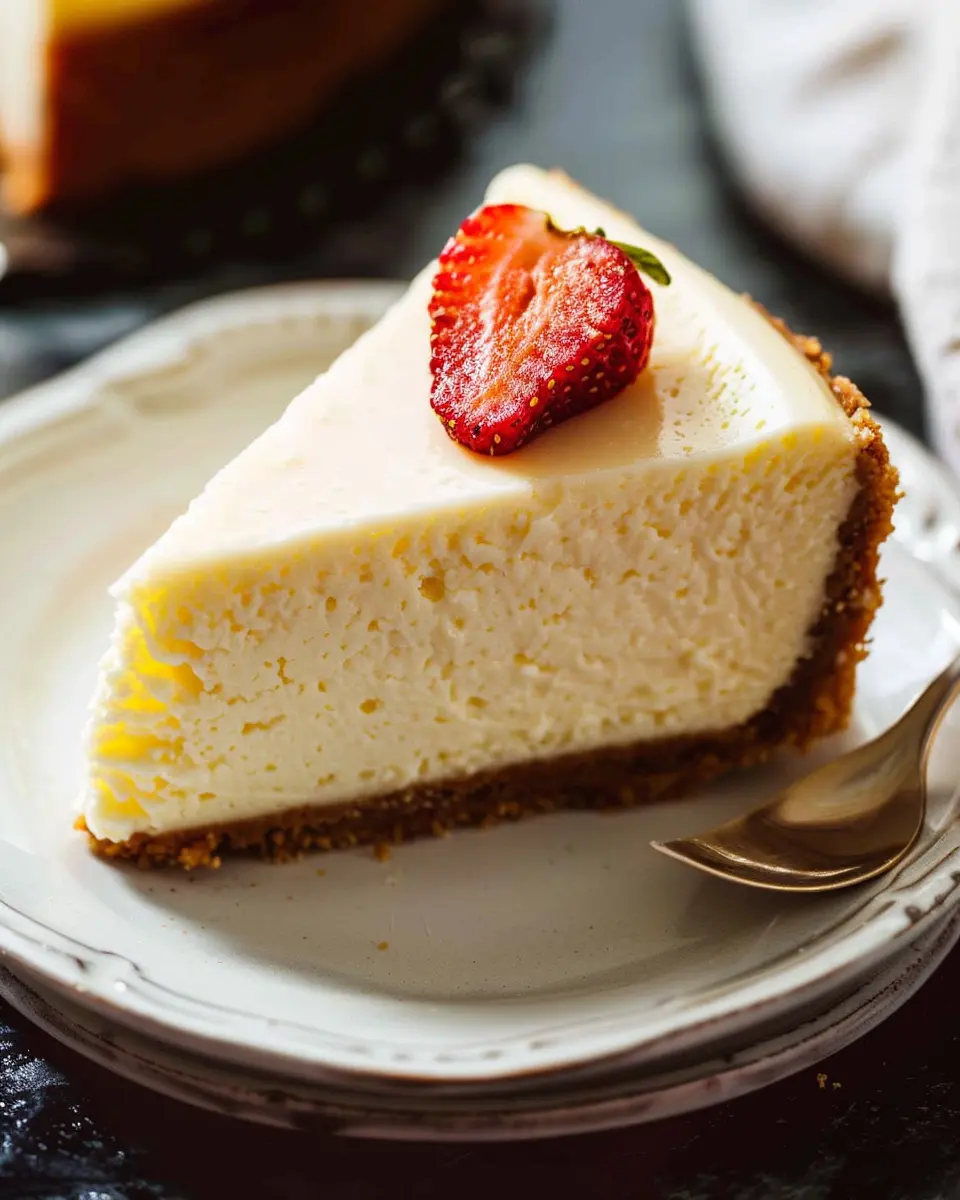
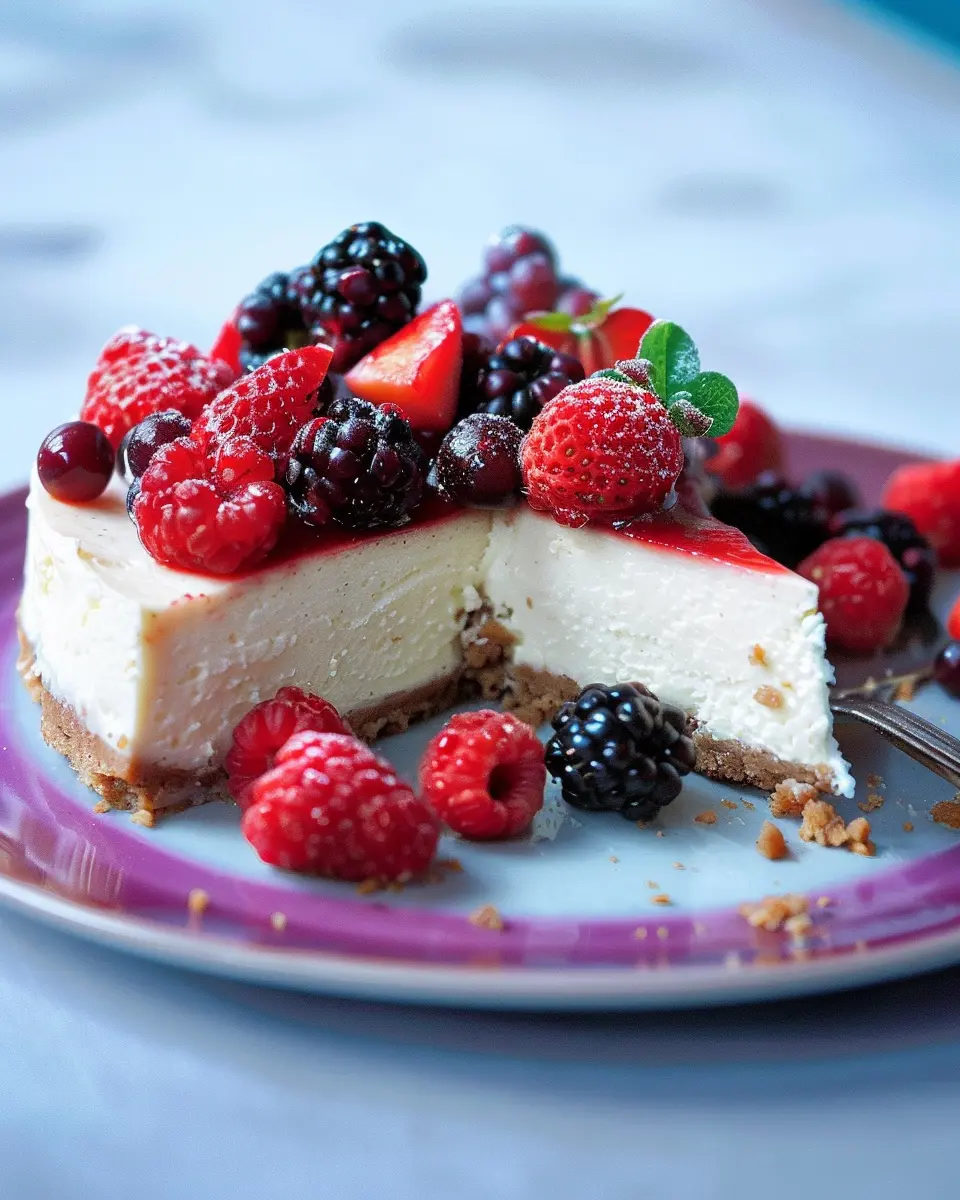
For serving, slice it up and enjoy it plain, or try adding seasonal fruits for a fresh contrast. A drizzle of caramel or chocolate sauce can also elevate this simple dessert to new heights.
If you’re hosting a gathering, consider pairing your cheesecake with a refreshing non-alcoholic beverage, perhaps sparkling water infused with citrus—such combinations enhance the cheesecake’s richness while keeping the whole experience appealing.
With these steps, you’re well on your way to mastering the art of baking a burnt basque cheesecake. Enjoy the process and the delicious results! Happy baking!
Variations on Burnt Basque Cheesecake
Alternative Flavors: Lemon or Chocolate Twists
While the classic burnt basque cheesecake is a crowd-pleaser, experimenting with flavors can take your dessert game to new heights. Consider infusing your cheesecake with fresh lemon zest for a zesty twist that brightens up each bite. Just imagine that creamy texture paired with a hint of citrus—it’s pure bliss!
On the other hand, why not satisfy your chocolate cravings? Adding cocoa powder or melted dark chocolate can transform your cheesecake into a decadent delight. A sprinkle of chocolate shavings on top adds an elegant finish. You’re just a few adjustments away from creating a unique dessert that keeps your guests guessing and impressed!
Lower-Calorie Options: Substitutions and Modifications
If you’re watching your calories but don’t want to miss out on dessert, there are tasty ways to lighten up your burnt basque cheesecake. Opt for low-fat cream cheese or Greek yogurt in place of regular cream cheese. Not only does this cut calories, but it also boosts protein, making your dessert a bit more nutritious.
You can also reduce the sugar by using natural sweeteners like honey or agave syrup, which can be kinder on your waistline.
Here are a few tips to keep your cheesecake lighter yet delicious:
- Use graham cracker crumbs or almond flour for the base, reducing carbs and calories.
- Swap sour cream for a sugar-free version to keep that tangy flavor without the guilt.
For additional information and ideas on healthy dessert alternatives, check out resources from Healthline. It’s all about enjoying the flavors you love while being mindful of what you consume!
Cooking Tips for Burnt Basque Cheesecake
Common pitfalls to avoid
Making a burnt basque cheesecake can be intimidating, but avoiding a few common pitfalls can set you on the right path. Firstly, be careful not to overmix your batter. A smooth mixture is essential, yet overmixing can introduce air, leading to cracks. Secondly, watch your baking time. Aim for a slightly wobbly center when you take it out—this firmness will develop as it cools. Finally, ensure your oven temperature is accurate. Using an oven thermometer can save you from a dessert that’s either overcooked or underbaked.
Essential tools and equipment for the best results
Having the right tools can significantly elevate your burnt basque cheesecake experience. Invest in a high-quality springform pan, which allows easy release of your cake without damaging the edges. A handheld mixer or stand mixer will help achieve that ideal creamy consistency; for precision, consider using a kitchen scale to measure ingredients accurately. Don’t forget parchment paper; lining the pan helps prevent sticking and cleanup is a breeze! For more tips on baking essentials, check out this guide.
With these insights, your burnt basque cheesecake will surely be a hit! What’s your secret ingredient to add a personal touch?
Serving Suggestions for Burnt Basque Cheesecake
Pairing Ideas: Toppings and Sides
When it comes to enhancing your burnt basque cheesecake, consider simple yet delightful companions! Fresh fruit like berries or sliced mango can add a refreshing contrast to the rich creaminess. A drizzle of homemade caramel or a dusting of powdered sugar can elevate the presentation while complementing the flavors. If you’re in the mood for some crunchy texture, serve it with a side of crushed nuts or a sprinkle of sea salt. For a touch of acidity, a dollop of Greek yogurt or sour cream pairs beautifully, balancing the sweetness of the cheesecake.
Ideal Occasions to Serve This Cheesecake
The burnt basque cheesecake isn’t just a dessert; it’s a statement! Perfect for celebratory gatherings like birthdays or anniversaries, it’s sure to impress your guests. You could also serve it at cozy dinner parties, where its distinct flavor can spark intriguing conversations. Additionally, it makes a lovely treat during holidays or festive occasions, offering a unique twist on traditional desserts.
For more festive inspiration, check out this article on hosting gatherings. Remember, the joy of sharing food goes hand in hand with making memories!
Time Breakdown for Burnt Basque Cheesecake
When it comes to making the perfect burnt basque cheesecake, understanding the timing is crucial for achieving that creamy, rich texture we all crave. Here’s a handy breakdown to guide you along your baking journey.
Preparation Time
Getting your ingredients ready is key. You should allocate about 15-20 minutes for prepping. This time covers gathering your ingredients—like cream cheese, eggs, and sugar—and mixing them until smooth and silky.
Baking Time
Next up is the baking phase, which takes roughly 40-50 minutes. You’re looking for that deep caramel color on top, which gives the cheesecake its signature “burnt” look. Keep an eye on it towards the end of the baking time, and don’t be afraid to rotate your pan for even cooking!
Cooling Time
Once the baking is done, allow your burnt basque cheesecake to cool for about 1-2 hours at room temperature. This step is essential for the cheesecake to set perfectly. Then, pop it in the fridge for at least 4 hours, or overnight if you can wait. The longer it sits, the creamier and more flavorful it becomes!
If you’re looking for more tips and tricks, check out this helpful guide on cheesecake making, which dives deeper into texture and flavor improvements. Happy baking!
Nutritional Facts for Burnt Basque Cheesecake
When indulging in a delightful burnt basque cheesecake, it’s good to consider its nutritional profile. Here’s a quick overview to satisfy your curiosity!
Calories
A typical slice of burnt basque cheesecake contains approximately 400 calories, making it a rich treat that balances flavor and indulgence.
Protein Content
This dessert packs a decent punch with about 7 grams of protein per slice, thanks to the cream cheese and eggs, offering a satisfying addition to your dessert experience.
Sugar Levels
With around 30 grams of sugar, the burnt basque cheesecake delivers that sweet satisfaction we all crave, but be mindful of portion sizes!
For more detailed insights on nutritional components, you might consider checking resources like the USDA FoodData Central. This helps you understand how your favorite foods fit into your daily intake.
Enjoy every bite while being mindful of balancing your diet!
FAQs about Burnt Basque Cheesecake
How do I know when my cheesecake is done?
The key to achieving that perfect burnt basque cheesecake lies in watching the baking process. You can tell the cheesecake is done when the edges are set, and the center remains slightly jiggly. Think of it as a gentle dance—your cheesecake should sway but not collapse! Once it has a lovely deep brown, almost charred top, remove it from the oven. It’ll firm up as it cools, giving you that delightful creamy texture.
Can I make this cheesecake ahead of time?
Absolutely! In fact, preparing your burnt basque cheesecake a day ahead can enhance its flavors. After it cools, cover it and refrigerate overnight. This resting period allows all those delectable flavors to meld beautifully. Just bring it back to room temperature before serving for the best taste experience.
What’s the best way to store burnt basque cheesecake?
Storing your cheesecake properly is vital for maintaining that creamy goodness. Wrap the cooled burnt basque cheesecake tightly in plastic wrap, or use an airtight container to keep it fresh. It’s best consumed within 3-5 days, although if you’re anything like me, it might not last that long! If you want to enjoy it later, you can freeze it (though this may affect the texture slightly). Just make sure to slice individual portions before freezing for easy access!
For more tips on cheesecake storage, you might find this article from the New York Times Cooking useful. It’s always great to have expert insights at your disposal!
Conclusion on Burnt Basque Cheesecake
Recap of the Cheesecake’s Unique Qualities
The burnt basque cheesecake is a delightful dessert that combines creaminess with a beautifully charred exterior, creating a unique flavor profile that has everyone raving. Its simplicity in ingredients allows the rich, buttery essence to shine, appealing to those who appreciate gourmet treats without fuss. If you love a balance of textures and flavors, this cheesecake will undoubtedly impress your taste buds.
So why not give it a try? It’s perfect for gatherings, special occasions, or simply as a sweet treat after a long day. Share your experiences and variations on this classic dessert with friends and family! For more dessert inspiration, check out Food Network for additional recipes.
PrintBurnt Basque Cheesecake: Indulgent Delight for Every Occasion
Discover the decadent delight of Burnt Basque Cheesecake, perfect for any occasion.
- Prep Time: 20 minutes
- Cook Time: 35 minutes
- Total Time: 4 hours 55 minutes
- Yield: 8 servings
- Category: Desserts
- Method: Baking
- Cuisine: Spanish
- Diet: Vegetarian
Ingredients
- 2 cups cream cheese
- 1 cup heavy cream
- 1 cup granulated sugar
- 3 large eggs
- 1 teaspoon vanilla extract
- 1/4 cup all-purpose flour
Instructions
- Preheat your oven to 400°F (200°C).
- In a large mixing bowl, beat the cream cheese until smooth.
- Add the heavy cream and sugar, mixing until well combined.
- Incorporate the eggs one at a time, mixing well after each addition.
- Stir in the vanilla extract and flour until smooth.
- Pour the batter into a parchment-lined springform pan.
- Bake for 30-35 minutes, or until the top is deeply browned.
- Let the cheesecake cool, then refrigerate for at least 4 hours before serving.
Notes
- Serve with fresh fruit or whipped cream for added flavor.
- This cheesecake is best enjoyed the day after it is made.
Nutrition
- Serving Size: 1 slice
- Calories: 400
- Sugar: 28g
- Sodium: 300mg
- Fat: 30g
- Saturated Fat: 18g
- Unsaturated Fat: 10g
- Trans Fat: 0g
- Carbohydrates: 30g
- Fiber: 0g
- Protein: 6g
- Cholesterol: 100mg