Introduction to Homemade Nut-Free Granola Bars
Why choose nut-free granola bars?
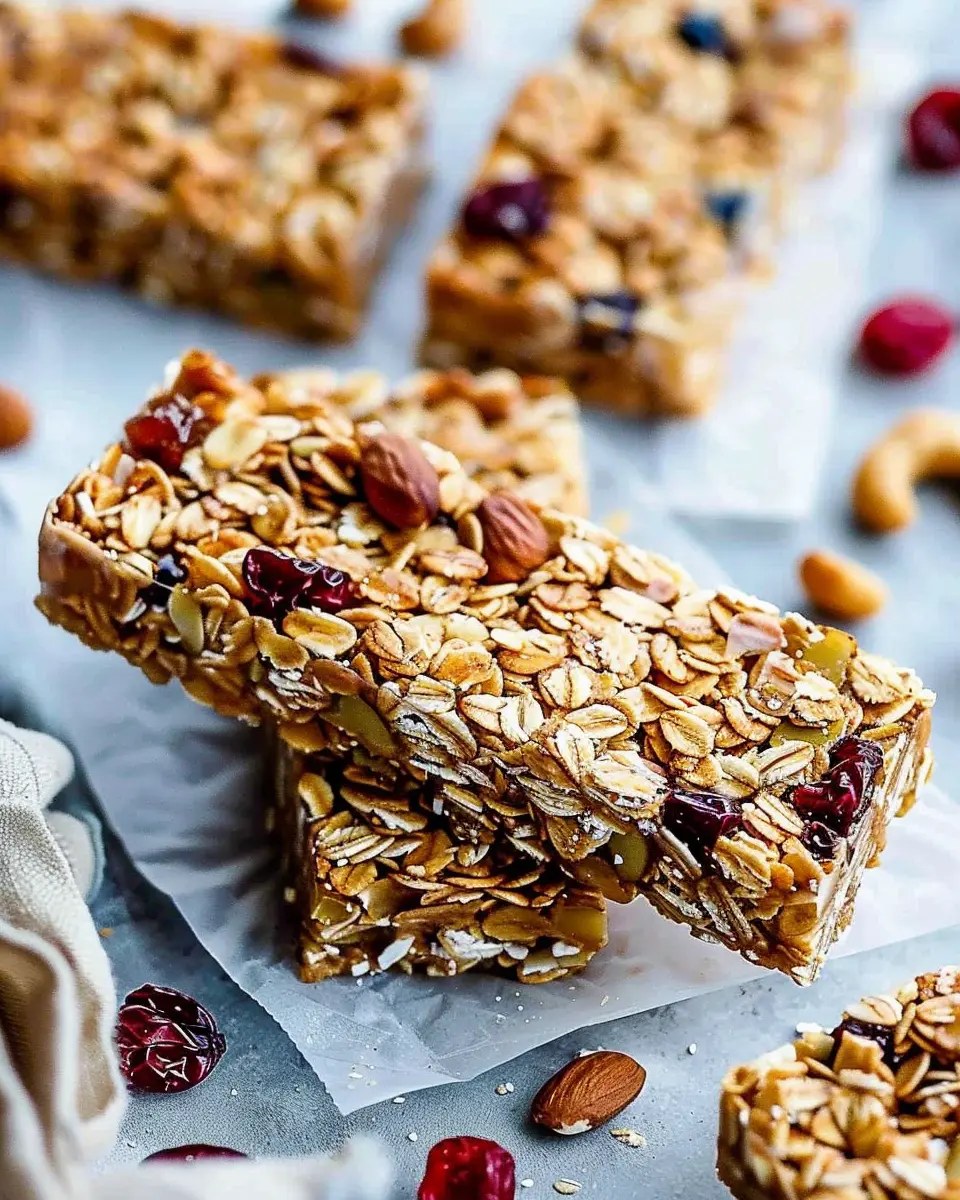
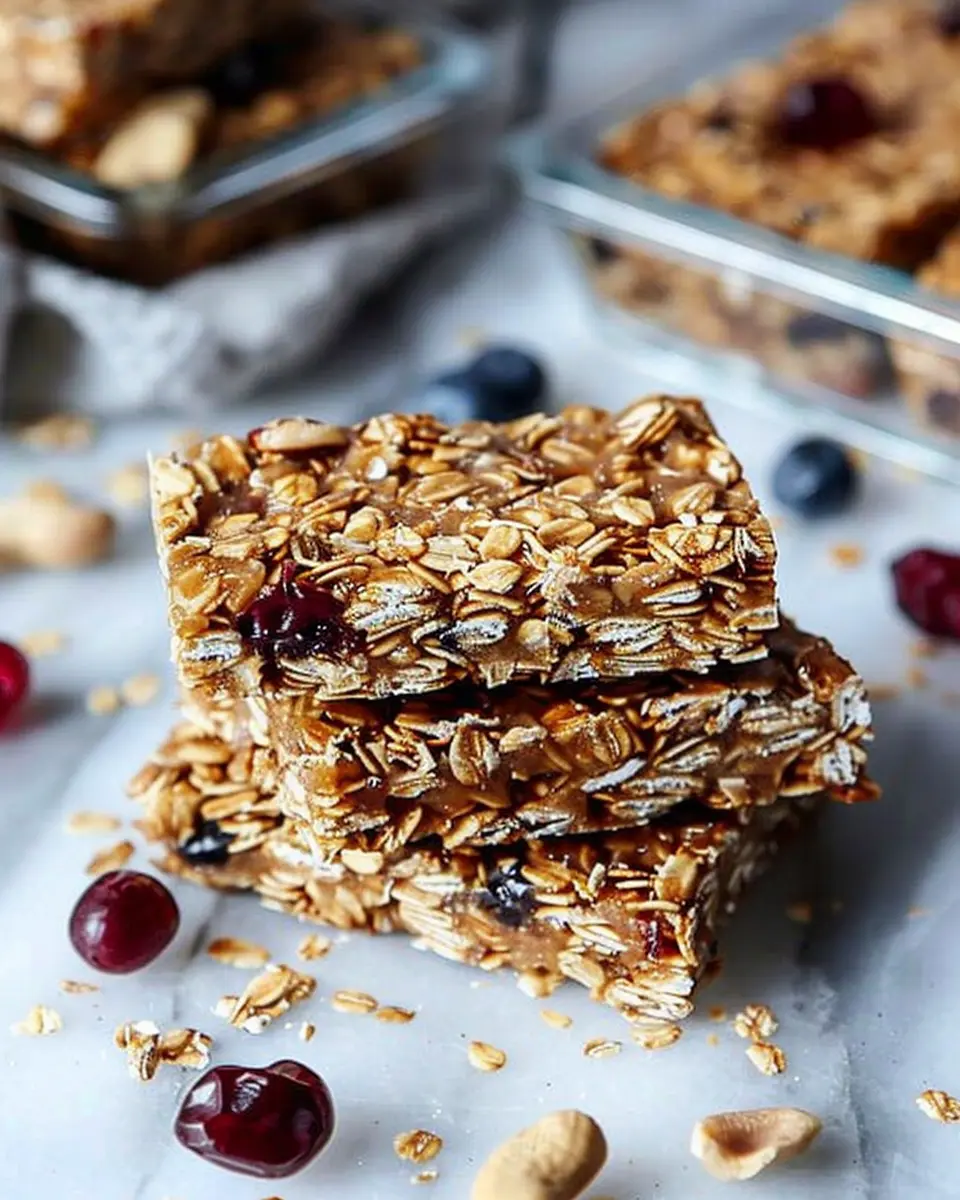
Homemade Nut-Free Granola Bars are a fantastic option for those who want a tasty snack without the worry of allergies. Nuts can pose serious risks for many people, especially children. Nut-free granola bars offer a worry-free alternative that’s just as delicious and satisfying.
By opting for a nut-free version, you’re also welcoming more friends to the snack party. This way, everyone, including those with nut allergies, can enjoy the fun. Plus, with the right combination of ingredients—think oats, seeds, and dried fruits—you won’t feel like you’re missing out on flavor or texture. Don’t just take my word for it; research indicates that an estimated 1.6 million children in the U.S. are at risk of nut allergies, making your choice to go nut-free a more inclusive one.
The benefits of making your own snacks
Creating your own snacks can be a game-changer in terms of taste, health, and convenience. When you make your own Homemade Nut-Free Granola Bars, you control everything that goes into them. This means avoiding unnecessary preservatives and additives often found in store-bought varieties.
Here are some key benefits to consider:
-
Customization: You can experiment with flavors—add cinnamon, vanilla, or even coconut to suit your palate. You can even tailor the bar’s texture, whether you prefer chewy or crunchy.
-
Cost-effective: Making your own snacks is usually less expensive than buying pre-packaged options. Plus, you can make larger batches, saving both time and money in the long run.
-
Healthy choices: You can select high-quality ingredients that align with your diet, whether you’re avoiding refined sugars or looking for gluten-free options.
Why not turn your next beach picnic into a snack adventure? Grab some oats, seeds, and your favorite dried fruits, and you’ll have a delicious, nutritious treat that’s ready to go! Enjoying homemade snacks means you can indulge in flavor while keeping mindful of health—an essential balance for today’s busy lifestyle.
Check out resources on healthy snacking trends to inspire your next creations!
Ingredients for Homemade Nut-Free Granola Bars
Essential ingredients for your granola bars
Crafting your own Homemade Nut-Free Granola Bars is not just fun; it’s also a fantastic way to control the ingredients. Here’s what you’ll need:
- Oats: Start with rolled oats for that chewy texture.
- Seeds: Sunflower seeds and pumpkin seeds add a delightful crunch and nutrition.
- Sweetener: Honey or maple syrup helps bind everything together while providing natural sweetness.
- Peanut Butter Alternative: Choose sunflower seed butter or soy nut butter to keep those allergies at bay.
- Dried Fruits: Think raisins, cranberries, or apricots for a burst of flavor.
- Coconut: Flaked coconut adds a tropical twist.
Alternative ingredients if you’re missing something
Maybe you’re out of a key ingredient? No problem! Here are some substitutions:
- Swap honey with agave syrup for a vegan option.
- If your pantry lacks oats, quinoa flakes can also work.
- Got no sunflower seed butter? Try tahini instead!
Not only do these alternatives make your Homemade Nut-Free Granola Bars adaptable, but they also invite creativity. Mixing and matching can lead to new favorite combinations. For more nut-free ideas, check out resources from The Nut-Free Mom for inspiration!
Step-by-Step Preparation of Homemade Nut-Free Granola Bars
Making a batch of homemade nut-free granola bars can be one of the most rewarding kitchen projects. Not only can you tailor the ingredients to your liking, but you can also create a healthy snack that’s perfect for beach picnics. Let’s dive into this step-by-step guide where you’ll learn how to whip up these delicious bars with ease.
Gather and Measure Your Ingredients
Before you embark on your granola bar journey, it’s essential to gather and measure all your ingredients correctly. Here’s a straightforward list to get you started:
- Rolled oats (2 cups): Make sure they’re certified gluten-free if you need them to be.
- Sunflower seeds (1/2 cup): Offers that satisfying crunch without the nuts.
- Pumpkin seeds (1/2 cup): A great source of protein and adds some chewiness.
- Honey or maple syrup (1/2 cup): Natural sweeteners that bind everything together.
- Coconut oil (1/4 cup): Helps to keep the bars moist and can be replaced with nut-free butter if preferred.
- Dried fruit (1 cup): Raise the sweetness levels — raisins, cranberries, or chopped apricots work well.
- Cinnamon (1 tsp): Just a pinch will do wonders for flavor.
Having everything in place not only saves time but ensures you’re set up for success as you blend these delectable components together.
Mix It All Together
Now comes the fun part! In a large mixing bowl, combine the rolled oats, sunflower seeds, pumpkin seeds, and any other dry ingredients you’d like to add, such as a dash of salt or spices.
In a small saucepan over low heat, gently melt the coconut oil and honey (or maple syrup) together, stirring until they’re fully combined. This mixture will serve as your glue. Once melted, pour it over the dry ingredients in the mixing bowl.
This step is essential! Mix thoroughly until all the dry ingredients are completely coated. You want every oat and seed to absorb the gooey sweetness. If you’re looking for more variations or tips, check out this guide on granola ingredient swaps that can enhance your granola experience.
Press and Set
After you’ve combined everything, it’s time to transfer your mixture to a lined baking dish (an 8″x8″ or 9″x9″ works great). Use a spatula to press the mixture down firmly; this step is often overlooked, but it’s crucial for ensuring that the bars hold their shape.
Once pressed evenly, cover the dish and place it in the refrigerator for at least 1-2 hours (or overnight if you’re feeling patient). This setting time allows the bars to firm up nicely.
Cut Into Bars
After your mixture has chilled and set, you can start cutting them into bars. Use a sharp knife for precise edges, and feel free to adjust the size according to your preferences — small squares for nibbling, larger rectangles for a more satisfying snack.
If you want to add a bit of flair, consider drizzling some melted dark chocolate on top after cutting; it adds a lovely touch without overpowering the nut-free essence.
Store Properly for Freshness
To maintain the freshness of your homemade nut-free granola bars, wrap them individually in parchment paper or keep them in an airtight container. Storing them in the fridge can prolong their shelf life for about two weeks, while freezing them can keep them for up to three months.
When it’s time for your beach picnic, simply grab a couple of bars, and you’re ready to hit the sand with a nutritious snack that will keep you energized!
By following these simple steps, you’ll be well on your way to enjoying delicious, homemade nut-free granola bars that are perfect for any outing. Happy snacking!
Variations on Homemade Nut-Free Granola Bars
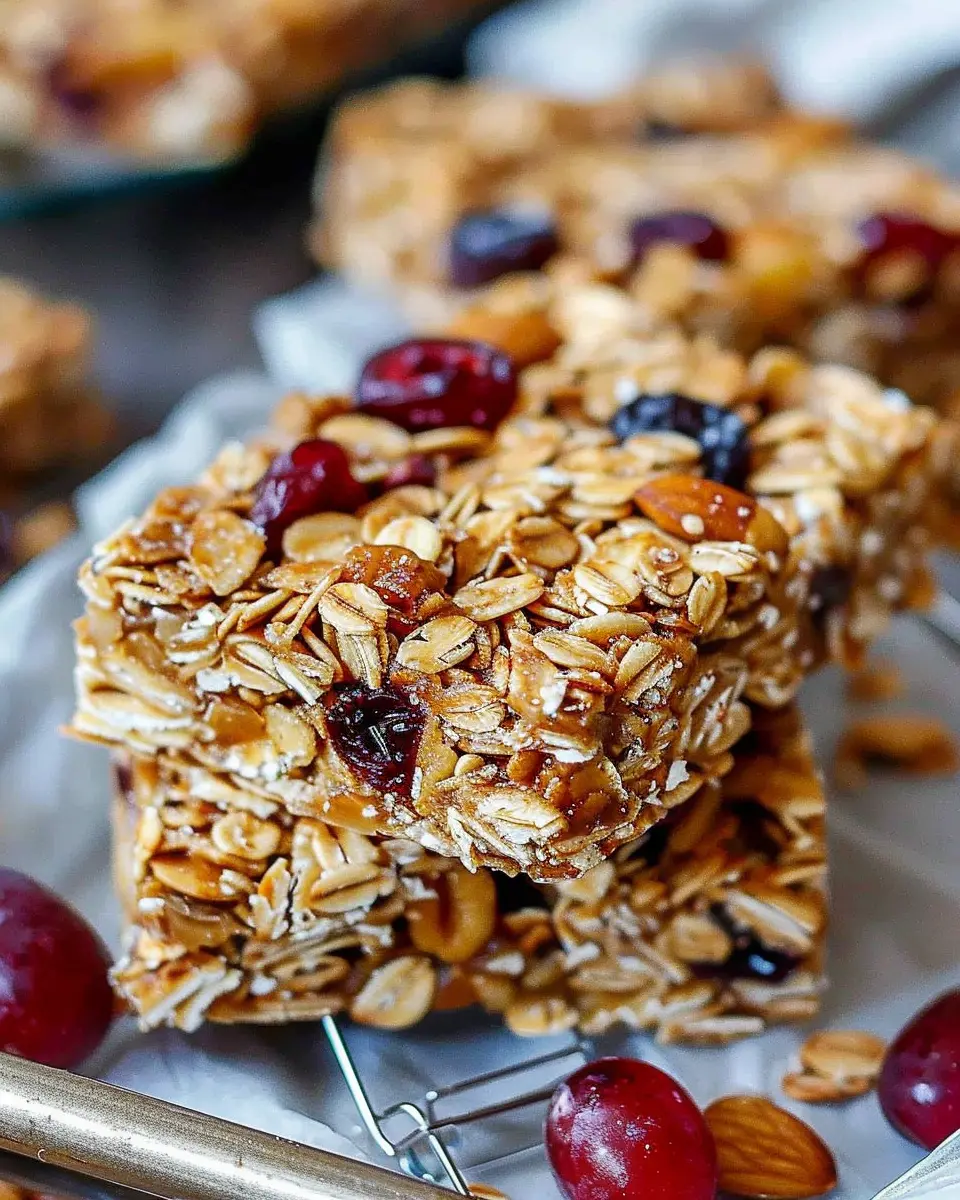
When it comes to homemade nut-free granola bars, the possibilities for variations are nearly endless! These bars are perfect for beach picnics, providing that delicious balance of energy and flavor. Let’s dive into some exciting variations that are sure to delight everyone in your group.
Fruity Granola Bars
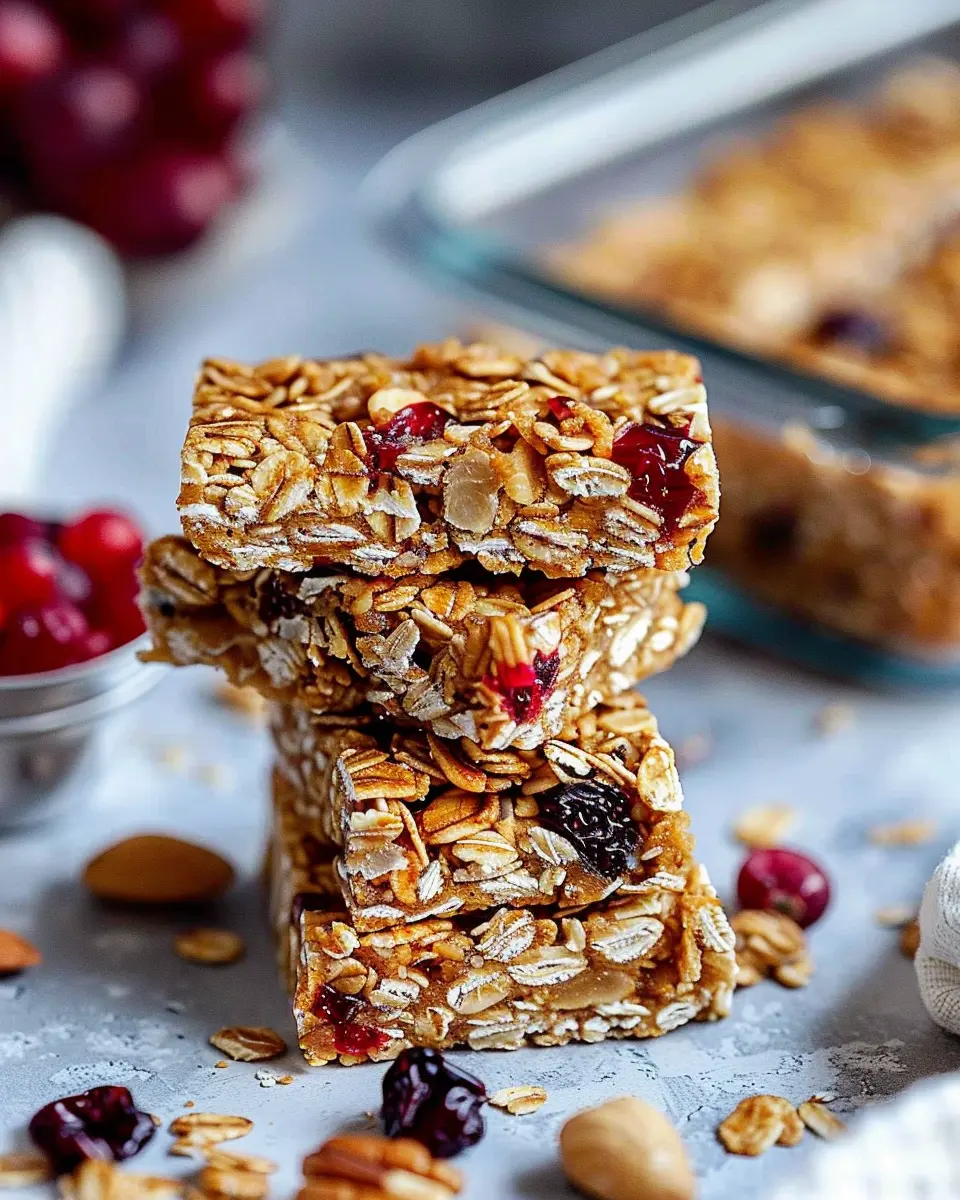
For a refreshing twist on your homemade nut-free granola bars, consider adding dried fruits like cranberries, apricots, or raisins. These fruits not only provide natural sweetness but also a burst of flavor. Just chop them up and mix them into your base, so each bite is the perfect blend of chewy and crunchy. If you’re looking for an extra zing, add a sprinkle of lemon zest!
Chocolate Chip Granola Bars
Who can resist chocolate? Adding dark chocolate chips or chunks to your granola bars will transform them into a sweet treat that both kids and adults love. Use dairy-free chocolate if you want to keep it plant-based! The melty goodness pairs beautifully with oats and honey, making these bars a crowd-pleaser. This option is perfect for those days when you need a little pick-me-up on the beach.
Savory Spice Granola Bars
Feeling adventurous? Try making savory granola bars! Infuse your base with garlic powder, onion powder, or even a pinch of cumin for a delightful twist. These savory homemade nut-free granola bars are perfect for those who prefer snacking on the salty side. You can also experiment with seeds like pumpkin or sunflower for an extra crunch and flavor.
Which variation will you try first? With these creative options, your picnics will never be boring. Check out more details on granola options from sites like Food52 to explore even more ideas!
Cooking Tips and Notes for Homemade Nut-Free Granola Bars
Avoiding common mistakes
Making homemade nut-free granola bars can be incredibly rewarding, but it’s easy to stumble along the way. One common mistake is not measuring your ingredients accurately. A precise measure of oats, sweeteners, and add-ins can significantly affect the flavor and texture. Also, avoid skipping the chilling step. If the mixture isn’t compact enough before cutting, you might end up with granola crumbs instead of bars.
Ensuring the perfect texture
The texture is everything in granola bars. For a chewy interior, make sure to use enough binder (think honey or maple syrup). If you’re after a crunchy bar, bake them a little longer; just watch closely to prevent burning. Keep in mind that once cooled, they tend to harden, so pulling them from the oven slightly before they reach that golden hue can be beneficial.
Feeling inspired? Check out this guideline on texture to enhance your granola bar baking journey!
Serving Suggestions for Homemade Nut-Free Granola Bars
Great pairings for snacks on the go
When planning your beach picnic, Homemade Nut-Free Granola Bars can be a delightful, energizing snack! Pair them with fresh fruit like juicy strawberries or sweet bananas for a refreshing contrast. Alternatively, pack some yogurt on the side for a creamy dip that elevates the bar’s texture and flavor. If you’re feeling adventurous, try serving them with a dollop of homemade fruit spread or a drizzle of honey for an added touch of sweetness.
Overview of serving sizes
These granola bars pack a nutritious punch, but portion sizes can be a bit tricky. Each bar typically satisfies as a stand-alone snack, but if you’re planning a long day at the beach, consider packing two per person. Remember, these bars are meant to provide energy and keep you fueled for your beach activities! For more tips on serving sizes and healthy pairing options, check out resources from the U.S. Department of Agriculture and ChooseMyPlate.gov. Enjoy the sun and the snacks!
Time Breakdown for Homemade Nut-Free Granola Bars
Preparation Time
Making Homemade Nut-Free Granola Bars is a breeze! You only need about 15 minutes to gather your ingredients and mix everything together. Don’t worry if you’re not a seasoned chef; it’s as simple as combining oats, seeds, dried fruit, and sweeteners like honey or maple syrup.
Setting Time
Once you’ve mixed your ingredients, press them into a lined baking dish and let them set for 30 minutes in the fridge. This setting time is crucial as it helps the bars firm up, making them easier to cut later.
Total Time
In total, you’ll invest about 45 minutes from start to finish for these delicious homemade snacks. Perfect timing for a quick grab-and-go treat for your beach picnic! When you pack your cooler, pair these bars with refreshing drinks like iced herbal tea for a fantastic day by the waves.
For more on the health benefits of granola, check out Healthline’s overview on nutritious snacks. Happy snacking!
Nutritional Facts for Homemade Nut-Free Granola Bars
When preparing your healthy and delicious homemade nut-free granola bars, understanding the nutritional benefits can enhance your snacking experience.
Calories per serving
Each homemade nut-free granola bar typically contains around 150 calories. This makes them a satisfying and energy-boosting option for beach picnics without the guilt of high-calorie snacks.
Protein content
You can expect to find about 3 grams of protein per bar, derived mainly from seeds and oats. Including a protein source in your snacks can help keep you fuller for longer and power you through your beach activities.
Fiber and sugars
These granola bars pack a fiber punch, offering around 2-3 grams per serving. This aids in digestion and supports overall health. In terms of sugar, they tend to have around 5 grams, primarily from natural sweeteners, making them a healthier alternative to many store-bought options.
For more ways to enhance your snacks with nutritious ingredients, check out resources like the U.S. Department of Agriculture for reliable information.
FAQs about Homemade Nut-Free Granola Bars
Can I use different sweeteners?
Absolutely! Homemade Nut-Free Granola Bars are quite versatile when it comes to sweeteners. Instead of the classic honey or maple syrup, you could try agave nectar or brown rice syrup for a different flavor profile. If you prefer something with a lower glycemic index, coconut sugar is another excellent choice. Keep in mind that the sweetness level might vary, so start with smaller amounts and adjust to taste.
How long do these granola bars last?
Your freshly made Homemade Nut-Free Granola Bars will typically last about one week at room temperature. If you want them to stay fresh longer, consider refrigerating them, which can extend their shelf life up to two weeks. You can also freeze them for up to three months! Just let them thaw at room temperature when you’re ready to enjoy them.
What’s the best way to store them?
Storage is key for keeping your Homemade Nut-Free Granola Bars crunchy and delicious! Here are some top tips:
- Airtight container: Use a sealable bag or an airtight container to keep moisture out.
- Parchment paper: Layer them between sheets of parchment paper to prevent sticking.
- Cool places: Store them in a cool, dry place away from direct sunlight.
If you’re heading to the beach, consider packing them in a small cooler with some ice packs to keep them fresh and tasty. For more tips on storage and shelf life, check out this guide on food preservation.
With these FAQs, you’ll be ready to whip up the perfect batch of Homemade Nut-Free Granola Bars for your beach picnic!
Conclusion on Homemade Nut-Free Granola Bars
Recap of Benefits
Homemade Nut-Free Granola Bars are not only a delicious treat but also packed with nutrition. They provide a great energy boost, making them perfect for beach picnics or any active day out. By making them at home, you have control over the ingredients, ensuring they’re free of allergens while customizing flavors to your liking. Plus, they’re a fantastic way to avoid processed snacks that often contain hidden sugars and unhealthy additives.
Encouragement to Try Making Them at Home
So why not give these Homemade Nut-Free Granola Bars a try? With simple ingredients and easy steps, you’ll quickly find they’re worth the effort. Experiment with various flavors and textures to create a snack that’s uniquely yours. Trust me, once you make these at home, you’ll never want store-bought again! For inspiration, check out more healthy snack ideas from Healthline or EatingWell.
PrintHomemade Nut-Free Granola Bars for Beach Picnics: Easy & Delicious
Enjoy these delicious homemade granola bars that are perfect for beach picnics without any nuts!
- Prep Time: 15 minutes
- Cook Time: 25 minutes
- Total Time: 40 minutes
- Yield: 12 bars
- Category: Snacks
- Method: Baking
- Cuisine: American
- Diet: Gluten-free, Vegetarian
Ingredients
- 2 cups rolled oats
- 1 cup crispy rice cereal
- 1/2 cup honey or maple syrup
- 1/4 cup coconut oil
- 1/2 cup dried fruit (raisins, cranberries, or apricots)
- 1/4 cup sunflower seeds
- 1 teaspoon vanilla extract
- 1/2 teaspoon salt
Instructions
- Preheat the oven to 350°F (175°C) and line a baking pan with parchment paper.
- In a large bowl, combine rolled oats, crispy rice cereal, dried fruit, sunflower seeds, and salt.
- In a small saucepan, melt honey and coconut oil over low heat. Remove from heat and stir in vanilla extract.
- Pour the wet ingredients into the dry ingredients and mix until well combined.
- Spread the mixture evenly in the prepared baking pan and press firmly.
- Bake for 20-25 minutes until golden brown. Allow to cool completely before cutting into bars.
Notes
- These bars can be easily customized with your favorite mix-ins!
- Store in an airtight container for up to a week.
Nutrition
- Serving Size: 1 bar
- Calories: 150
- Sugar: 8g
- Sodium: 50mg
- Fat: 6g
- Saturated Fat: 4g
- Unsaturated Fat: 2g
- Trans Fat: 0g
- Carbohydrates: 22g
- Fiber: 2g
- Protein: 3g
- Cholesterol: 0mg